Dynamics 365 Timer Control in the Forms. The Timer Control can for instance be used to let a user know the time he has left to complete a task.
A very common application of the Timer Control is for SLAs of Cases. It could help your User know how long he has to meet the SLA conditions for a Case!
You can add several Timer Controls per Form, for any Entity.
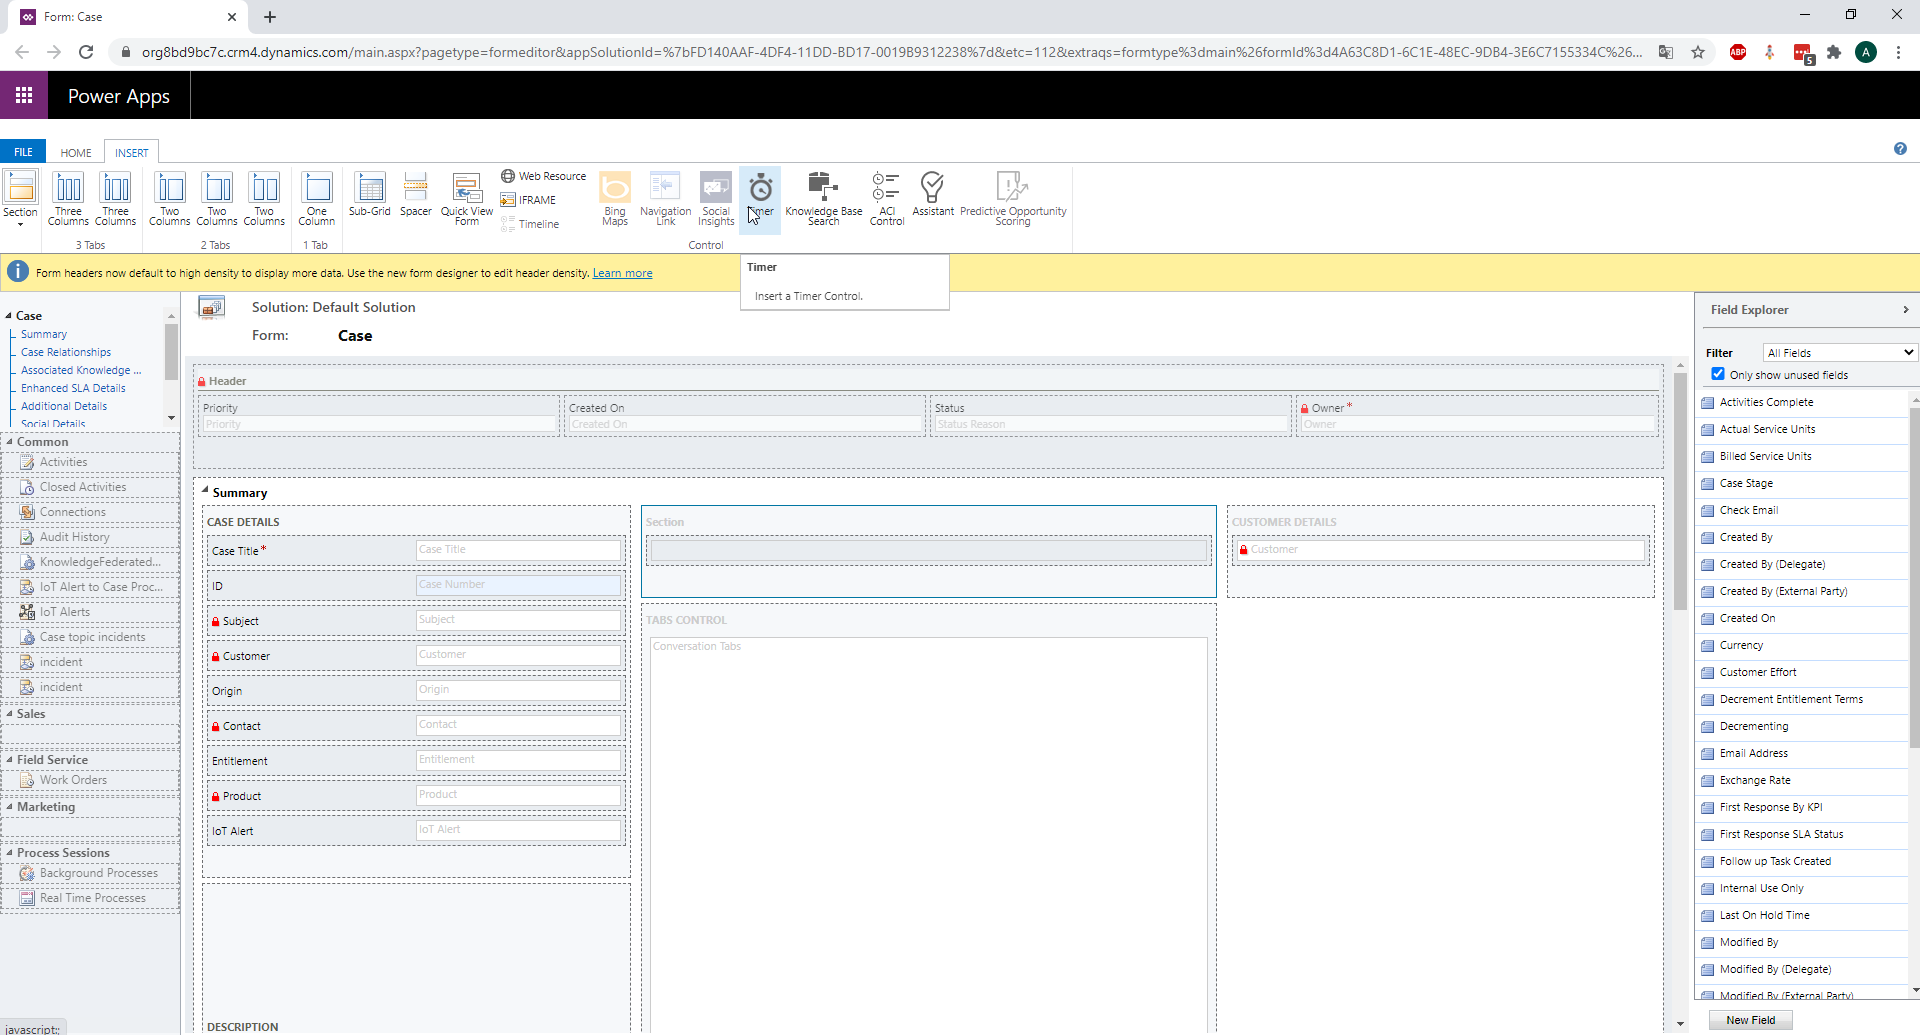
To insert it in a Form, go to Form customisation interface and click Insert -> Timer Control:

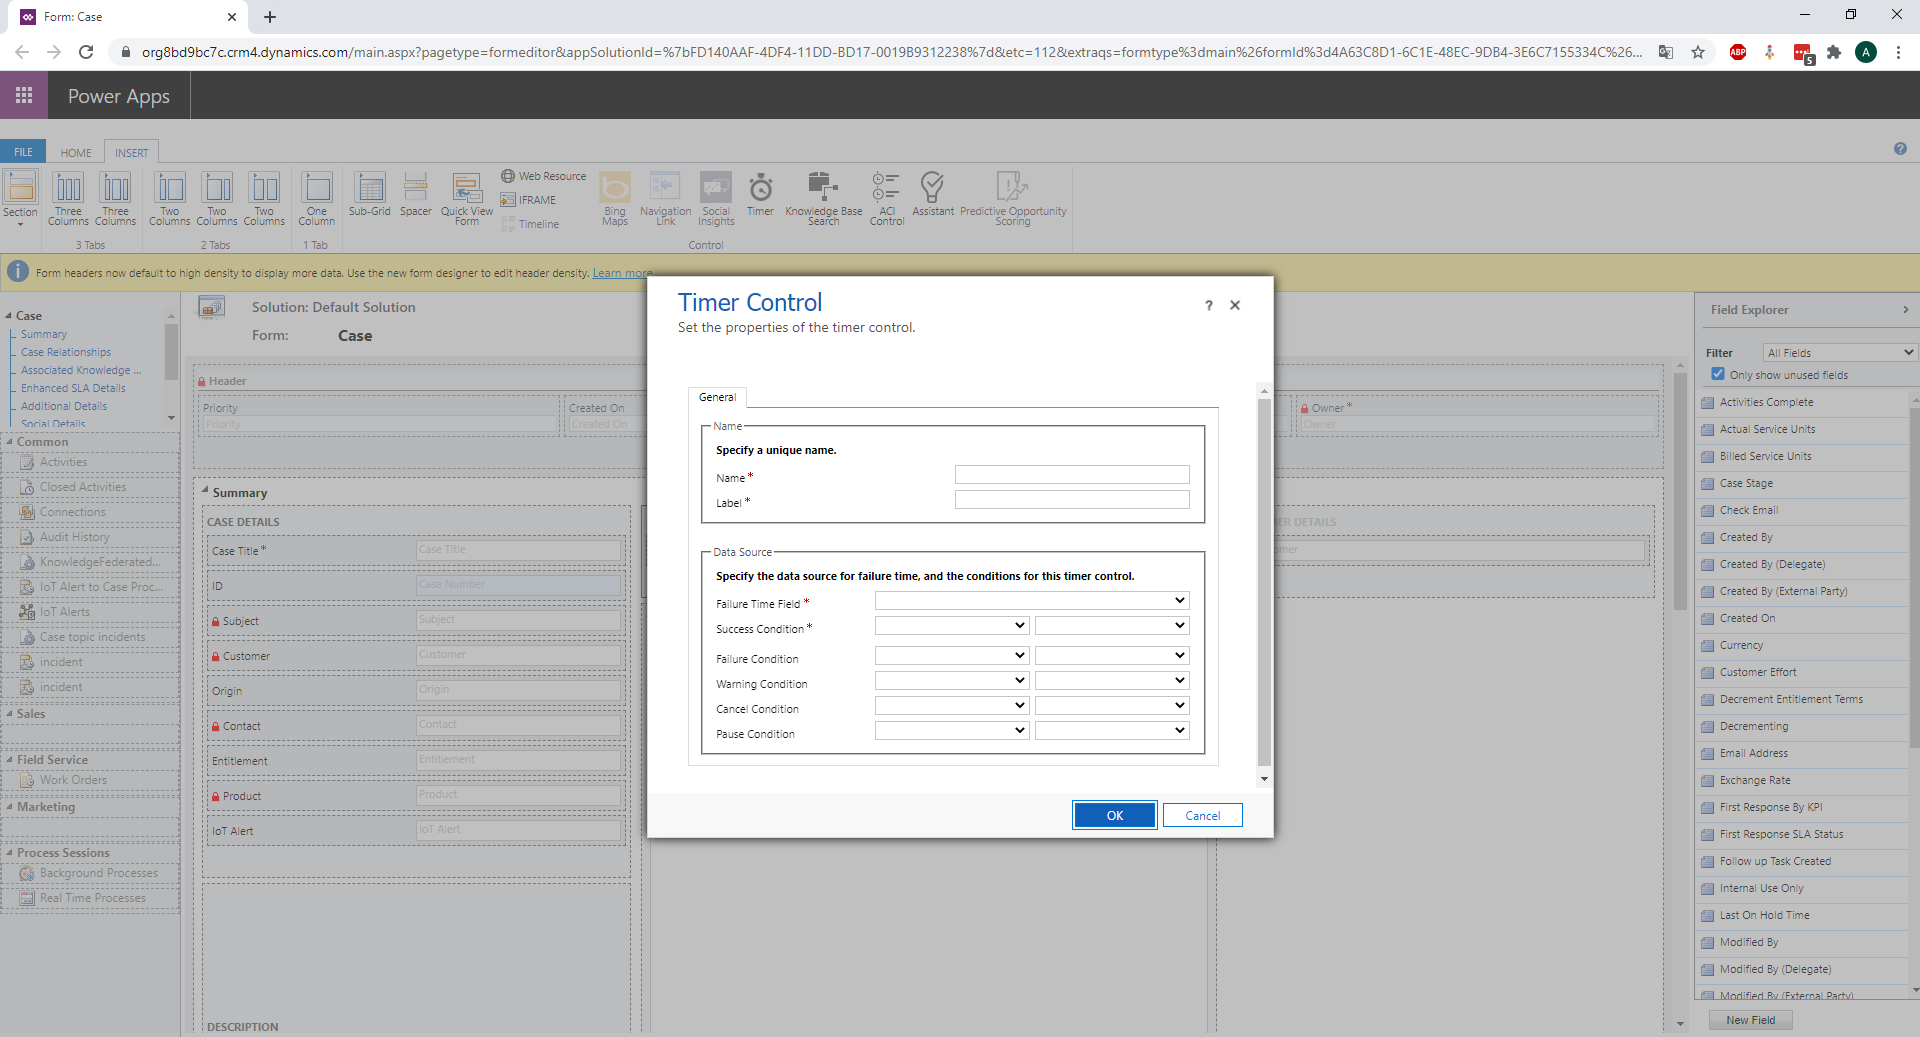
A window opens with different properties to fill:

You first need to fill in a Name for the control, and a Label for it. The Label will be displayed on the Form.
Then, you have two other mandatory fields:
- Failure Time Field:
Here you can select a DateTime field. It is the deadline for the User to perform a Task.
The Timer will show a countdown to this DateTime, until it is reached. If the DateTime is reached and exceeded, the Timer will go up and be displayed in red.
- Success Condition:
You select here a Success Condition. You specify an Option Set of the entity and one of the values of the Option Set. If the Option Set is set to this value for the record, the Timer will show a status "Succeeded":
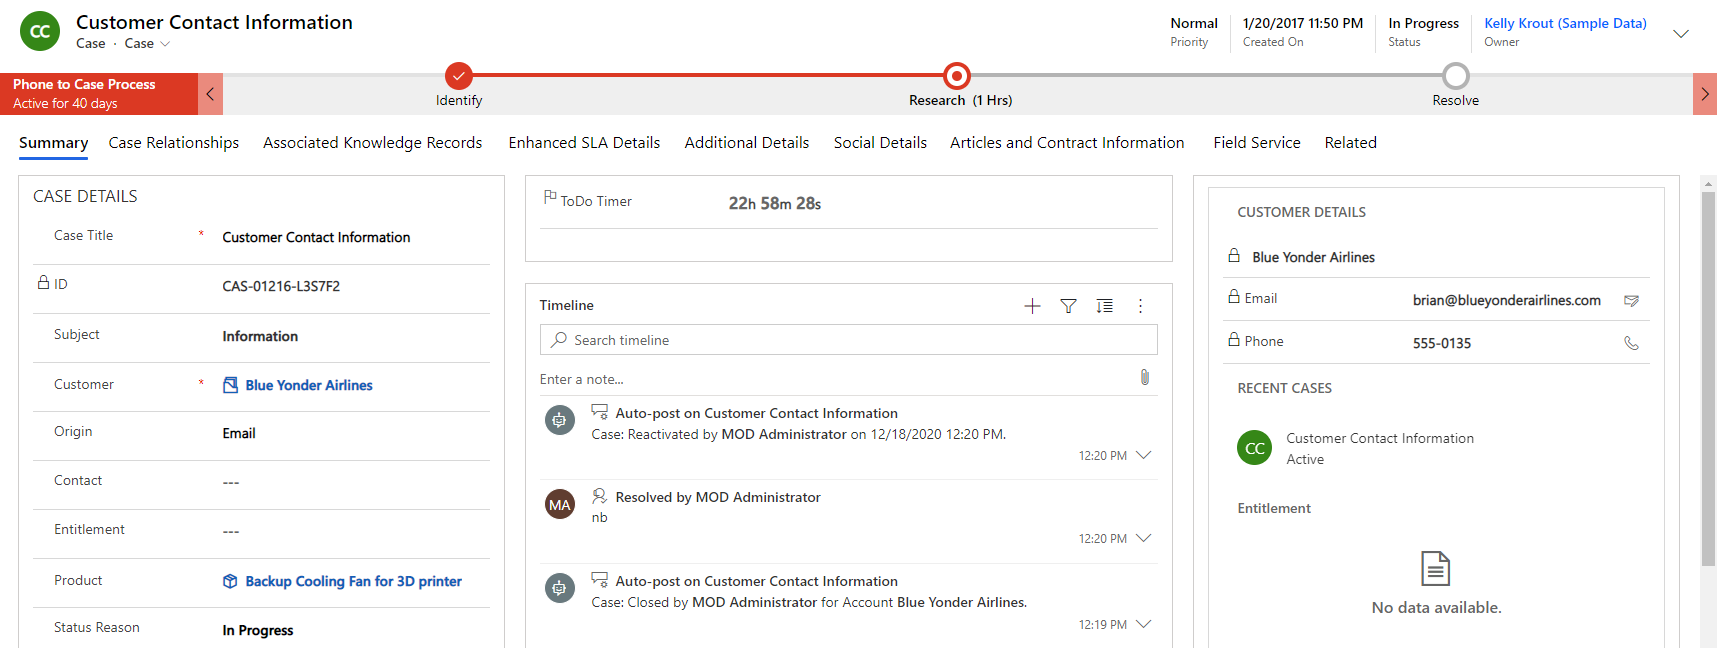
Here is the appearance of the Timer on the Form:

If the Failure Time field is past, the Timer will go up and be shown in red:

If the Success Condition is met, the Timer is replaced by the "Succeeded" message :

There are also optional fields in the configuration of the Timer. For each of them, you also select an option set and one of its values.
- Failure Condition:
If condition is met, the Timer shows "Expired":

- Warning Condition:
If condition is met, the Timer shows "Nearing Expiry" under the countdown:

If the Failure Time is past, it isn't shown.
- Cancel Condition:
If condition is met, the Timer shows "Canceled":

- Pause Condition:
If condition is met, the Timer shows "Paused":

Hope you will find use to this nice Control !

