Dynamics 365 unit tests tutorial : In this blog post, I'm going to show how to unit test plugins (workflows, custom action) in Dynamics 365. The primary reason of writing unit tests is to validate whether your new feature is working as expected. Apart from that, writing unit test brings many benefits to your code base:
- It acts like a specification of an existing feature. It helps other maintainers to understand what the actual implementation is doing.
- It lets you test/debug plugins without any additional deployment step, resulting in a short development loop and bugs will be found early in the process.
- It's an assurance regarding regression issues. It makes sure future implementations won't have any negative side-effects on your existing implementation.
Let's implement a sample plugin, which will create a follow-up activity after the creation of a new account:
Create a new project in Visual Studio and select .NET Framework version 4.6.2 or higher. This nuget package is needed Microsoft.CrmSdk.CoreAssemblies, select the version according to your CRM version. Finally, sign and build your plugin assembly.
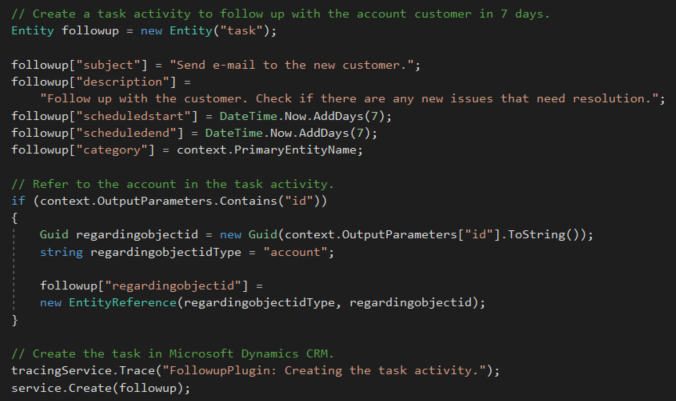
Go ahead with the implementation of your main business logic inside the execute method of the plugin.
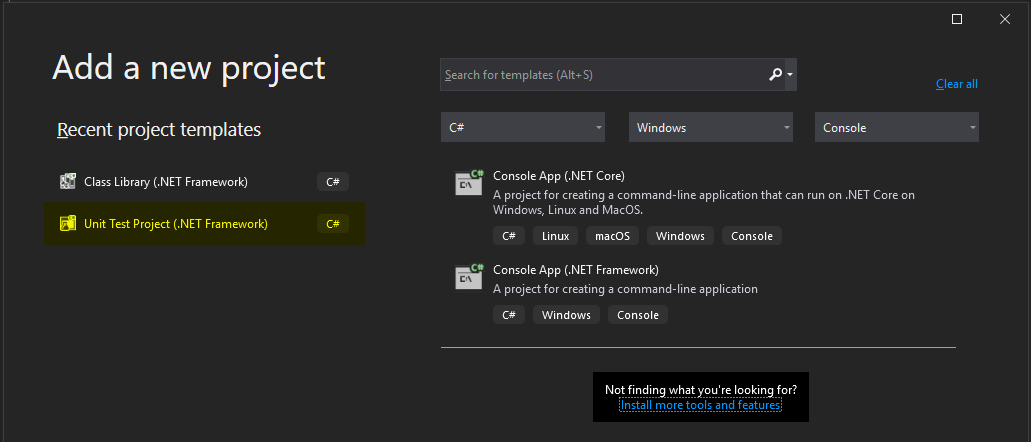
Now, create a new test project in Visual Studio. Choose Unit Test Project (.Net Framework).
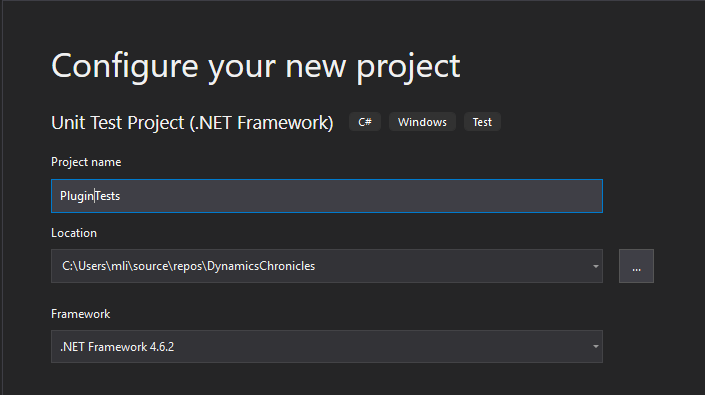
In our example we will name it PluginTests.
Rename the class to FollowupPluginTests.cs and rename the class to match the file name.
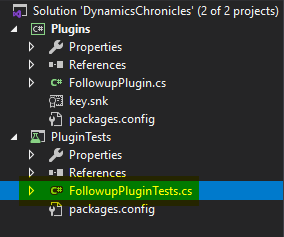
Give the test method a meaningful name, which explains what will be tested. In our case, we expect the plugin to create a task after a new account is created.
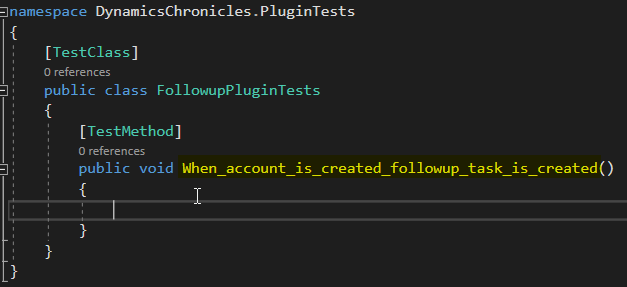
Add FakeXrmEasy to your test project. Choose the version according to your CRM deployment.
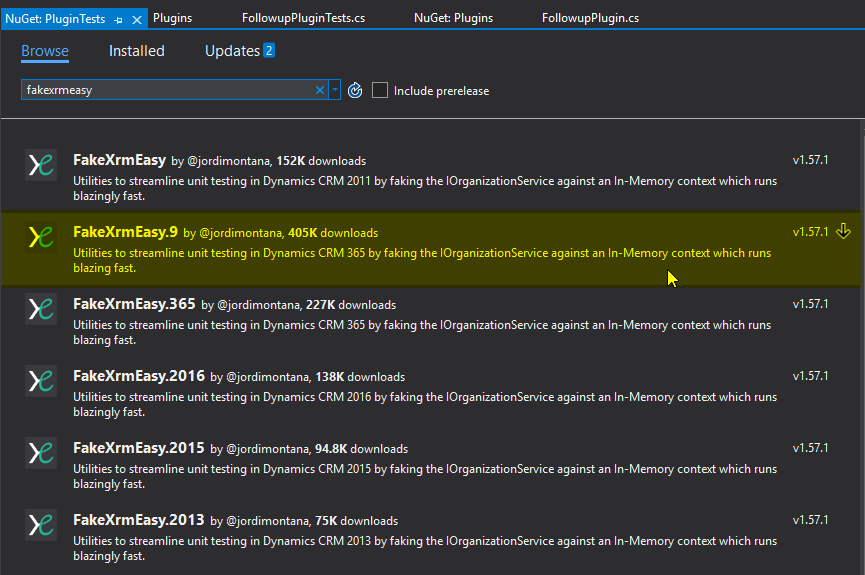
Add a project reference to your plugin project, since we want to call the actual plugin from the test project.
Implement the unit test in a sequence of three steps:
1. Setup mock objects which will be expected as input by the plugin under test. In our case, this is a Target input and an id output parameter.
2. Execute the actual plugin.
3. Validate if the plugin business logic was executed as expected. In our case, we will check and assert if a new task was created.
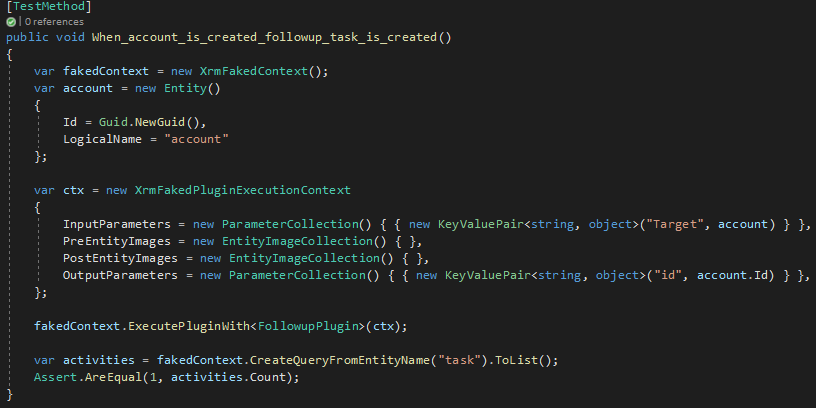
Run the unit test inside unit test explorer and check whether it succeeded or not.
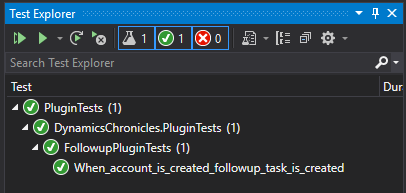
Next, we introduce OpenCover in order to measure the amount of code covered by our unit test (code coverage).
Add OpenCover package to your test project.

Add ReportGenerator Package to your test project.

Add a new batch file under your solution root folder named GenerateCodeCoverageReport.bat. Add these lines to execute the unit tests from the command line and generate the report. You may have to adjust folder paths slightly to match your local installation.
set VSTest="C:\Program Files (x86)\Microsoft Visual Studio\2019\Professional\Common7\IDE\CommonExtensions\Microsoft\TestWindow\VSTest.Console.exe"
set NUGETFolder=".\packages"
"%NUGETFolder%\OpenCover.4.7.922\tools\OpenCover.Console.exe" -target:%VSTest% -targetargs:"%cd%\PluginTests\bin\Debug\DynamicsChronicles.PluginTests.dll" -output:"%cd%\CoverageResults.xml" -register:user -filter:"+[DynamicsChronicles*]* -[DynamicsChronicles.PluginTests]*"
"%NUGETFolder%\ReportGenerator.4.8.2\tools\net47\ReportGenerator.exe" -reports:"%cd%\CoverageResults.xml" -targetdir:"%cd%\CoverageReport"
Run the bat file and find the generated report in a new folder created by the tool CoverageReport.
Examine the report and find detailed information about what is covered by your unit test. In addition, the report can also be sent to a non-technical person (e.g. manager) for quality review.
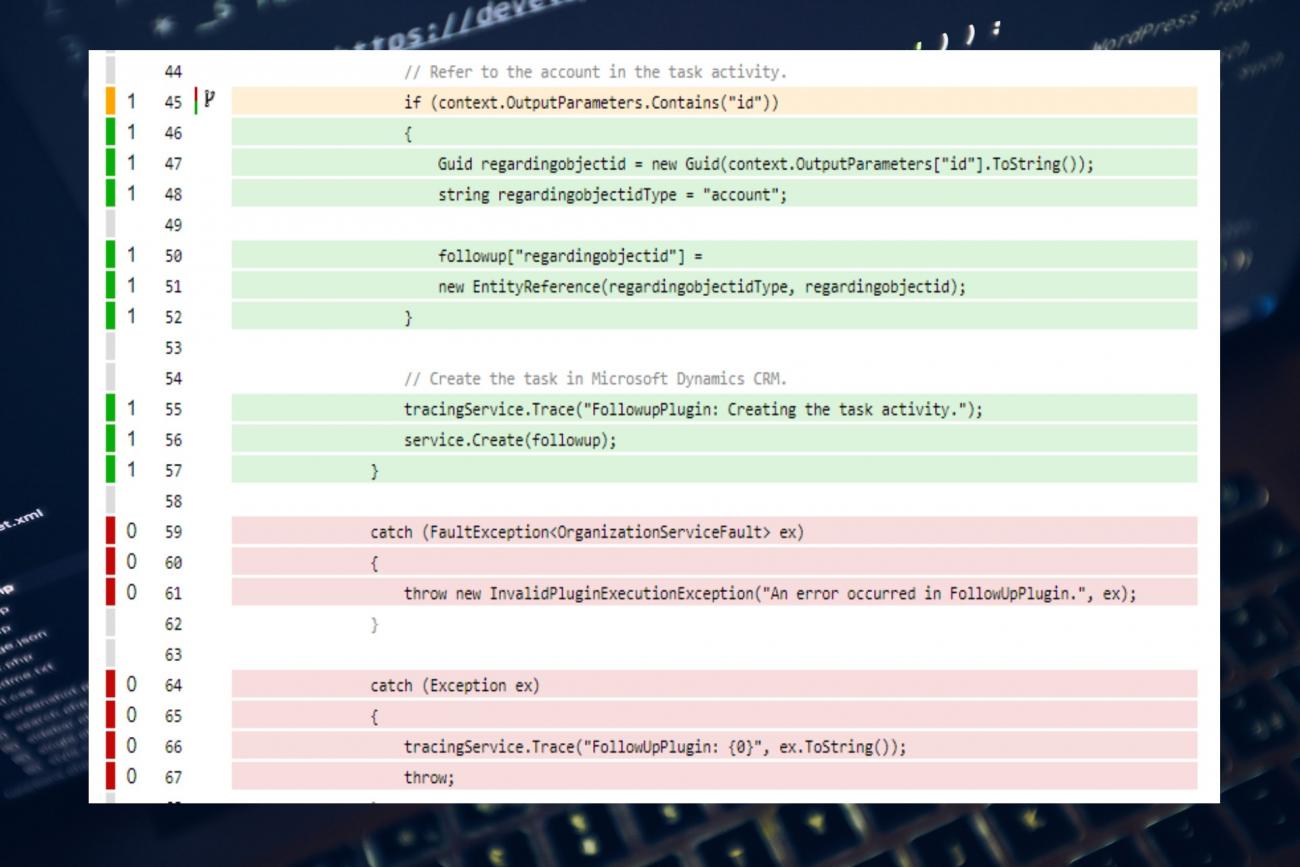
Code Coverage is shown by Plugin. Here we can see that 18% of the plugin code is not covered by our unit test.

If we drill down to the specific plugin, we are able to see which code lines are not covered.
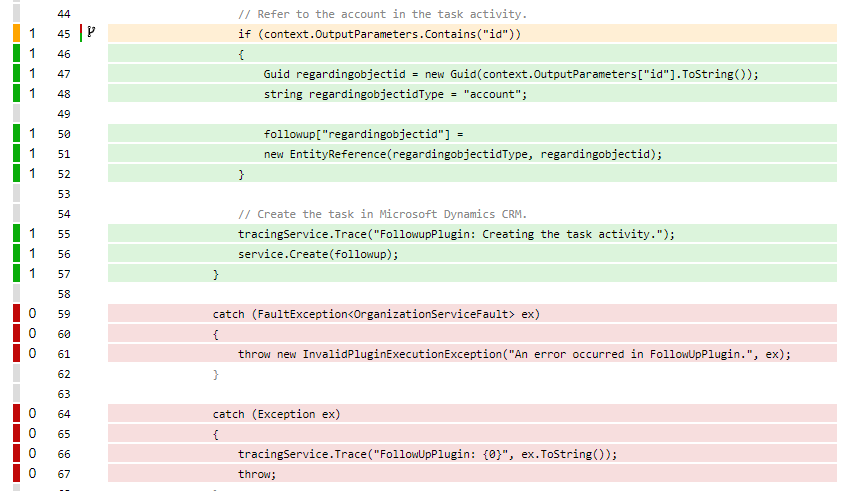
- Green: Covered line
- Yellow: Partially covered
- Red: Not covered
In order to cover this catch statement, we would have to setup another unit test, which will force the plugin to throw an exception.
And there are even more code metrics calculated.
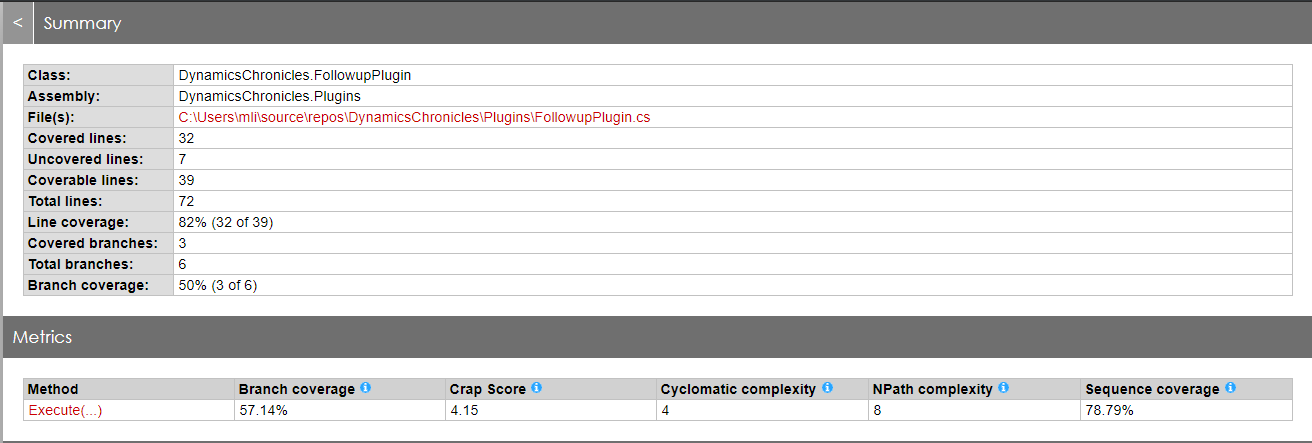
If you are interested, you can find more details about the additional figures here:
- Branch coverage: https://en.wikipedia.org/wiki/Code_coverage
- Crap Score: https://testing.googleblog.com/2011/02/this-code-is-crap.html
- Cyclomatic complexity: https://en.wikipedia.org/wiki/Cyclomatic_complexity
- NPath complexity: https://modess.io/npath-complexity-cyclomatic-complexity-explained/
- Sequence coverage: https://en.wikipedia.org/wiki/Code_coverage
Conclusion
In this blog post we went through these steps:
- Create a CRM plugin and implement business logic
- Setup a unit test using FakeXrmEasy
- Setup code coverage measure using OpenCover
Thanks for reading.
Dynamics 365 unit tests tutorial
Comments
Integrate Coverage in Visual Studio
I would recommend this extension:
https://marketplace.visualstudio.com/items?itemName=FortuneNgwenya.Fine…
This way you get coverage report directly integrated with Visual Studio, also you get the coverage coloring on the side of your source code editor too.
Thanks, Betim. "Fine Code…
Thanks, Betim. "Fine Code Coverage" has a very nice VS integration. Is there also a way to generate a report from the command line? Usually, we want to generate the code coverage report as part of the CI/CD pipeline.
Console Application Unit Testing
Can you please share an example of unit testing a console application?
Usually you are going to…
Usually you are going to call D365 from a console application using the organization service. In order to run your unit test locally and without any dependency on a D365 instance you need to mock your D365 instance. That's where FakeXrmEasy comes into play. Please find an example of mocking the D365 organization service here: https://dynamicsvalue.com/get-started/your-first-test
click an button on grid
i am tying to click an new button on subgrid but i am unable to find the command can u help

