Tips to use PCF for Dynamics 365 On premise v9.1
Power Apps component framework empowers professional developers and app makers to create code components for model-driven and canvas apps. These code components can be used to enhance the user experience for users working with data on forms, views, dashboards, and canvas app screens. By the way, you could find our nice article on PCF here. Nevertheless, custom PCF controls have been only supported for the Online version as Microsoft said. If you try to install a PCF control in on-premise environment version 9.0 (or 9.1), you will receive the error:

However, the PCF is needed in some scenarios with specific business which we must accept the unsupported way to leverage the advantages of PCF and we could do a "magic" to install our PCF into on-premises version.
Note: Please be aware that: This is the unsupported method.
Because the PCF is not supported for On-premises so we can't deploy directly from Visual Code. In this article, I will make an example of importing a PCF: MultiTag which are allow us to add couple of tags by creating new one or selecting existing tags. What we need to do are:
- Generate a zip file from the solution project by run the command (see detail how to build a PCF at MS Document)
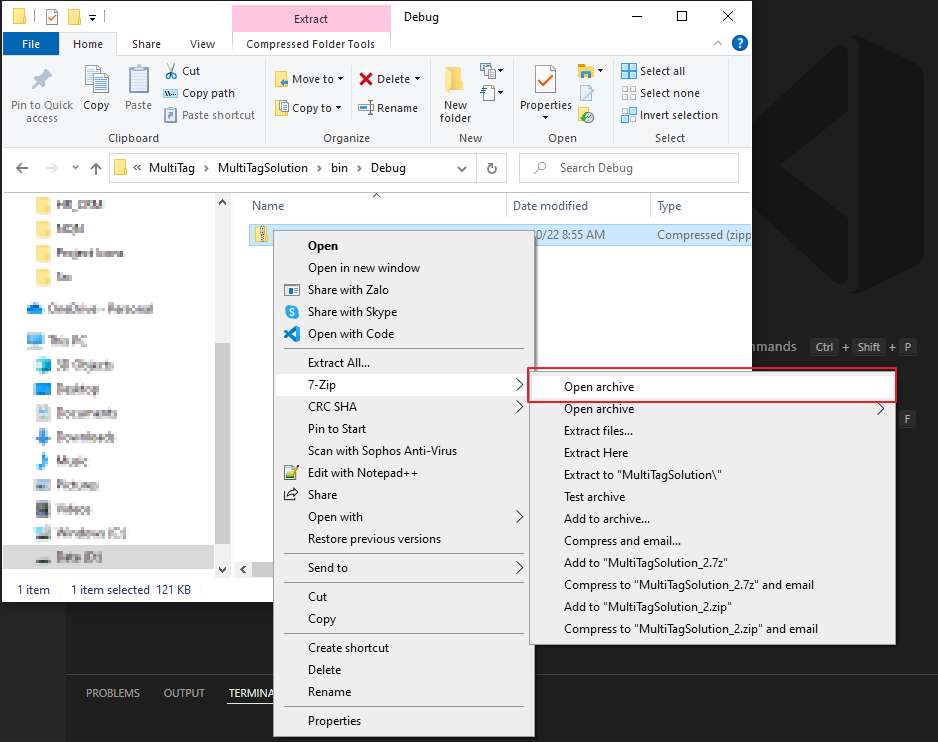
msbuild /t:build /restore - Open generated solution by 7-zip
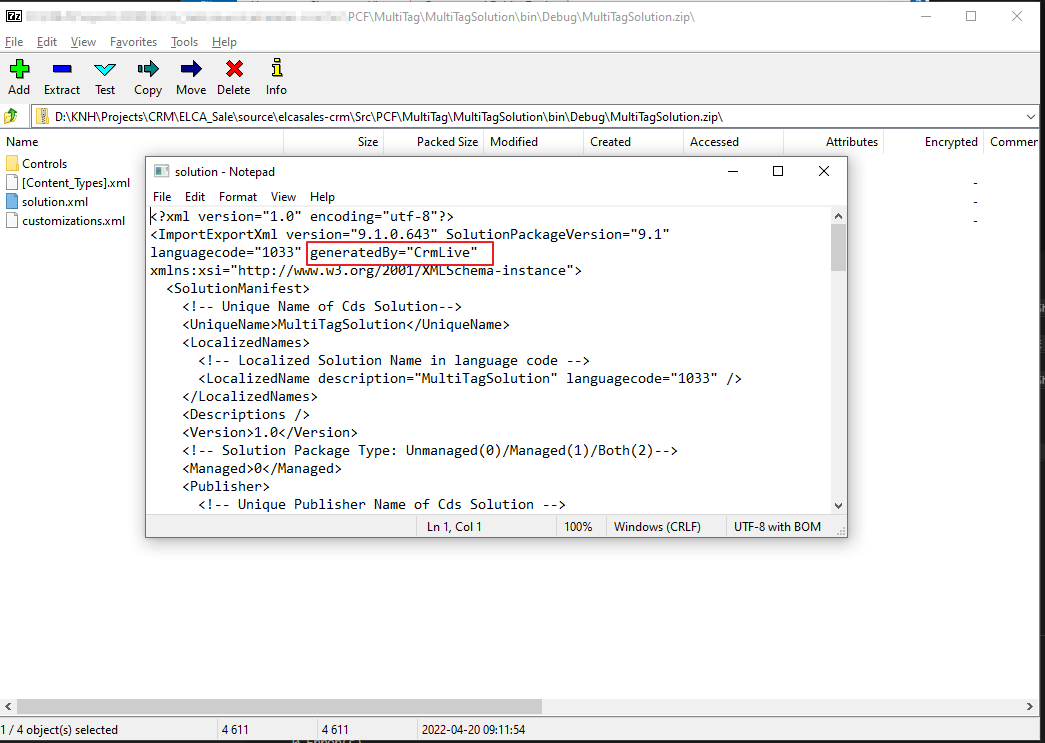
- Open file solution.xml for editing and find attribute generatedBy="CrmLive" and remove it. This one is generated by default which prevents the solution is installed in on-premise environment
- Save the zip file.
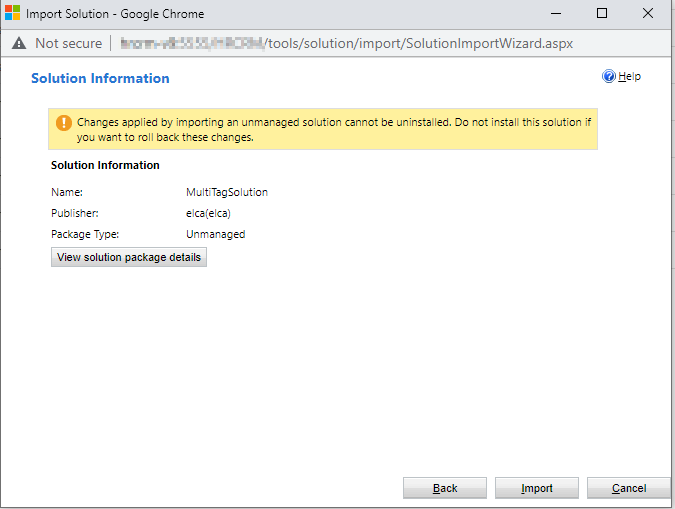
- Import to on-premise environment
- Config to use the PCF: After importing, the PCF is available now for select in list control
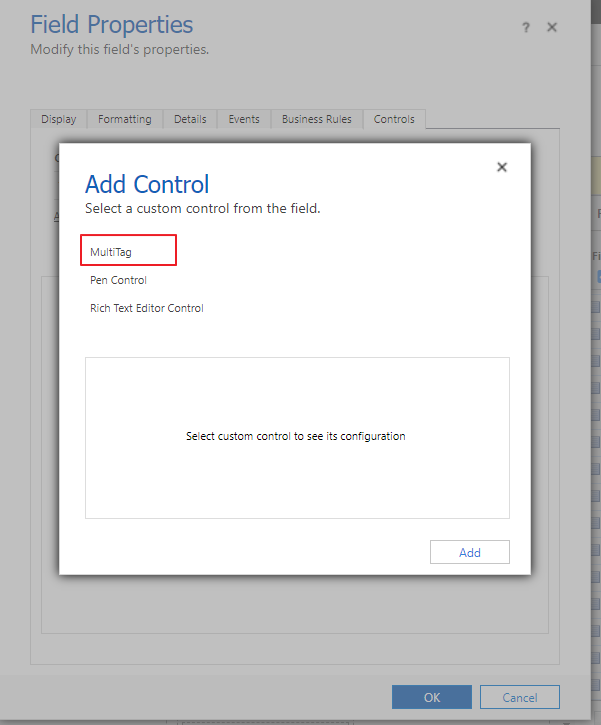
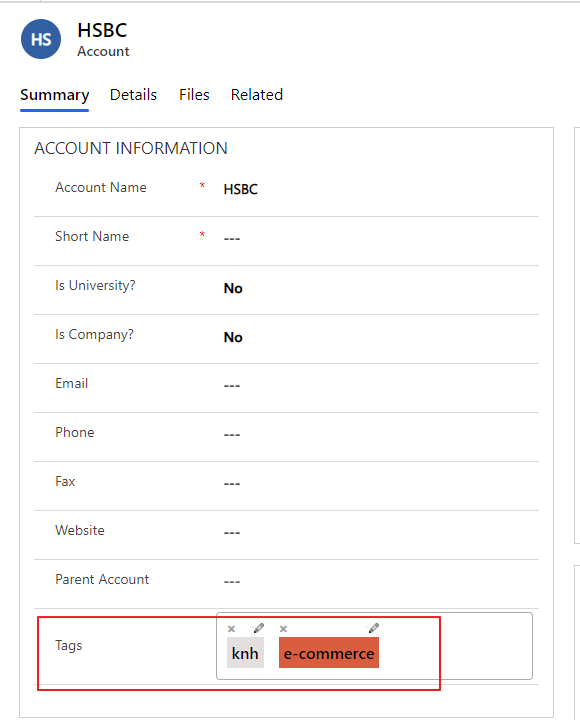
- We are able to use our custom controls to the form and make full use of them just like in Dynamics 365 online, and obviously, with the full Unified Interface now as well:
