

Presentation
The main language used to develop custom component (plugin, …) for dynamics 365 is the C# .Net. It could be very useful to have access to the dynamic 365 instances with code in order to test part of code for instance. Let’s see a little piece of code which can be very helpful. In this tutorial, we’re going to see how to do with C# language.
Prerequisites
Before starting this tutorial, you must:
- Install Visual Studio (in this tutorial, I’m using the 2019)
- Have access to a Dynamics 365 online instance
Create project
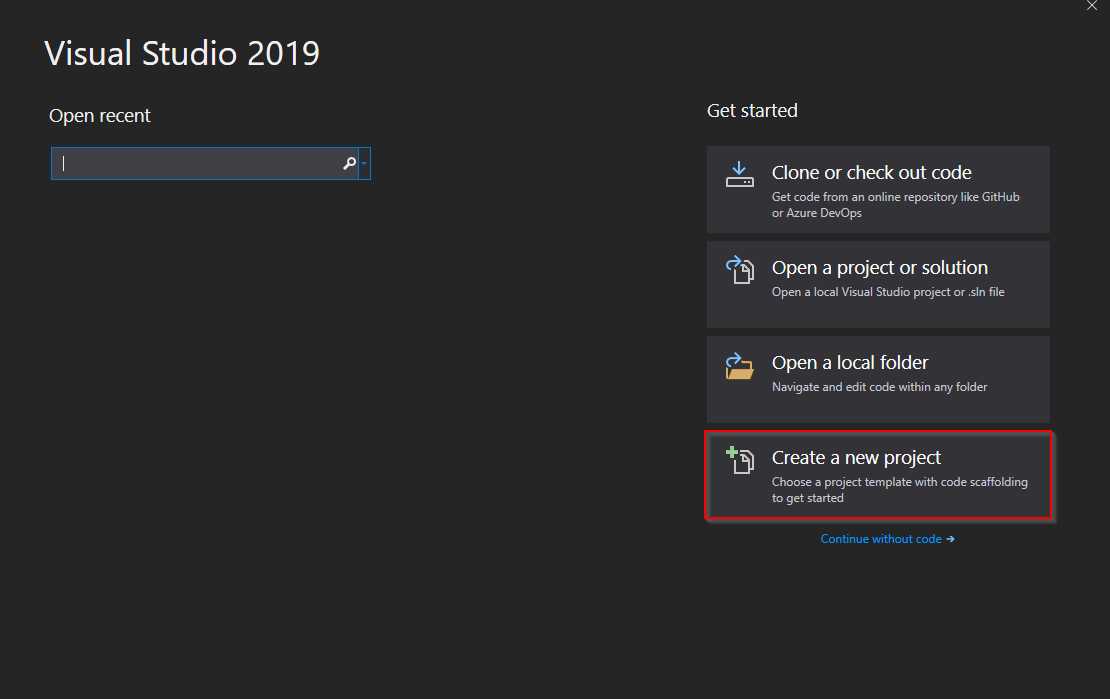
Open your Visual studio and create a new console project
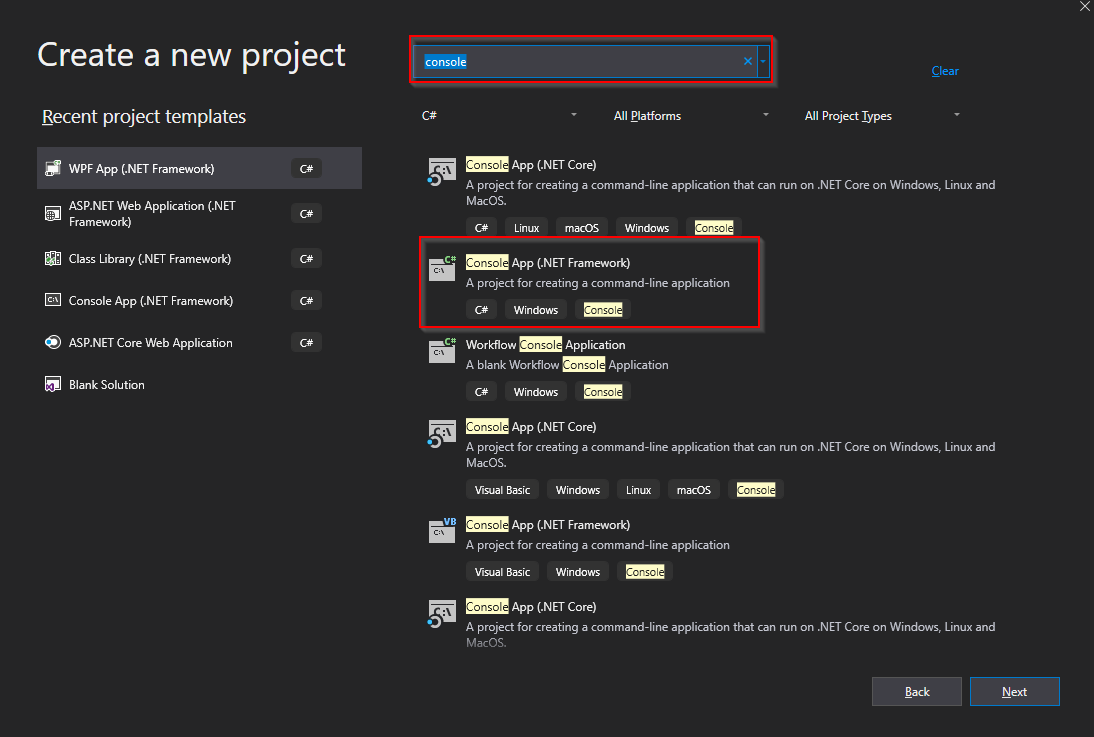
Select ConsoleApp (.NET Framework) and click on Next
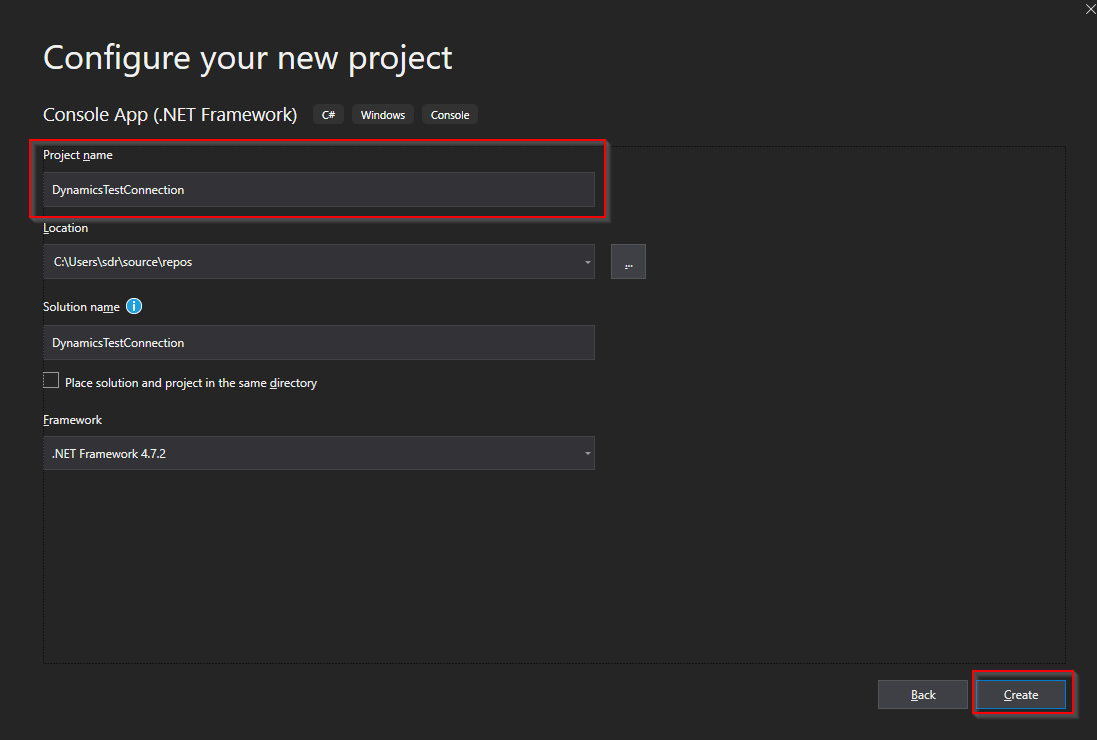
Then define the name of your project and click on Create
Your project is ready! Now we will have to setup the needed libraries.
Import Libraries
To make your project usable, we will need to add libraries:
- Microsoft.CrmSdk.XrmTooling.CoreAssembly
- Microsoft.CrmSdk.CoreAssemblies
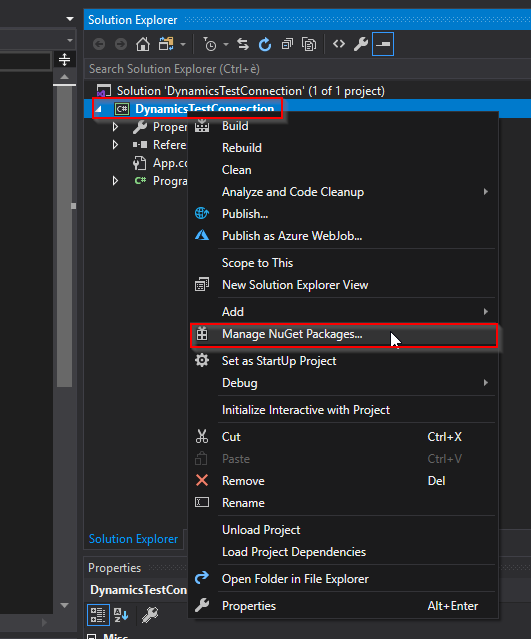
To do so, in the solution explorer on the right, right click on your project -> Manage NuGet Package
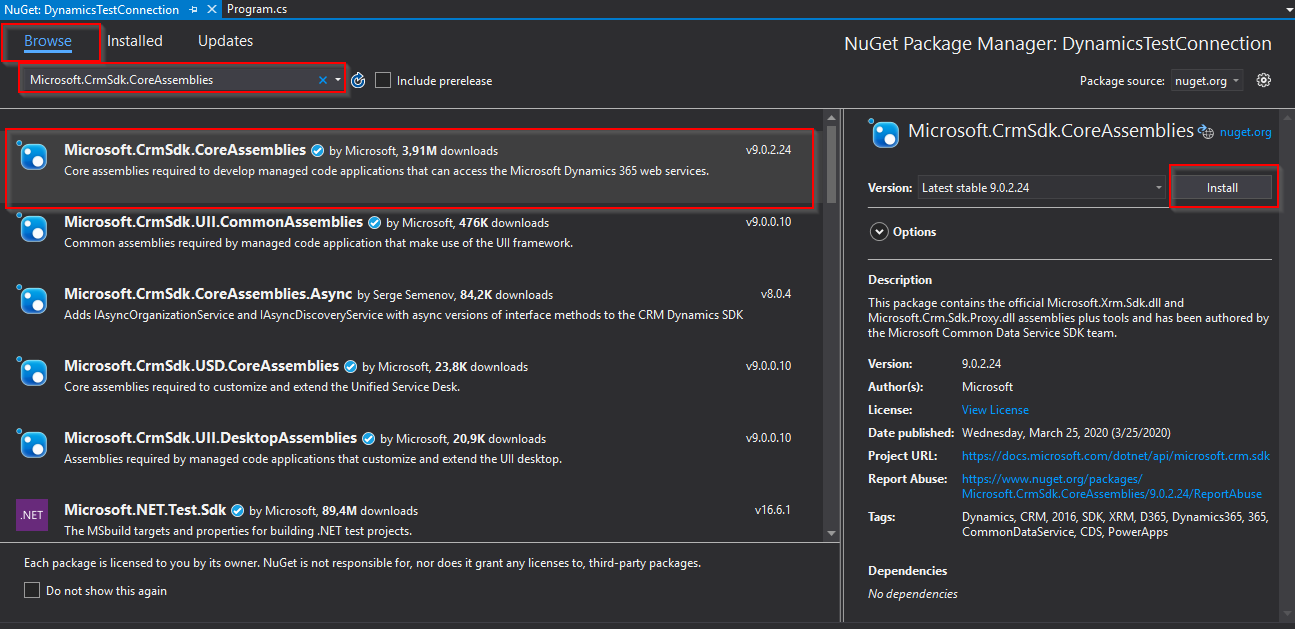
In the new windows, select the Browse tab and search for Microsoft.CrmSdk.CoreAssemblies
In the result, select the Microsoft.CrmSdk.CoreAssemblies and on the right, click on the InstalI button.
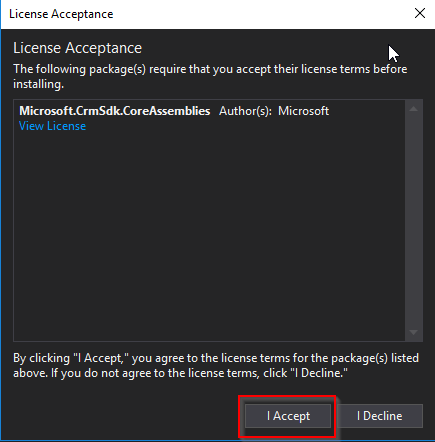
And Accept the License Acceptance popup.
Now this library is installed, do the same with Microsoft.CrmSdk.XrmTooling.CoreAssembly
Your libraries have been installed successfully! We are almost done. In the next step, we are going to add the magic code to access your Dynamics365 instance.
Add the code
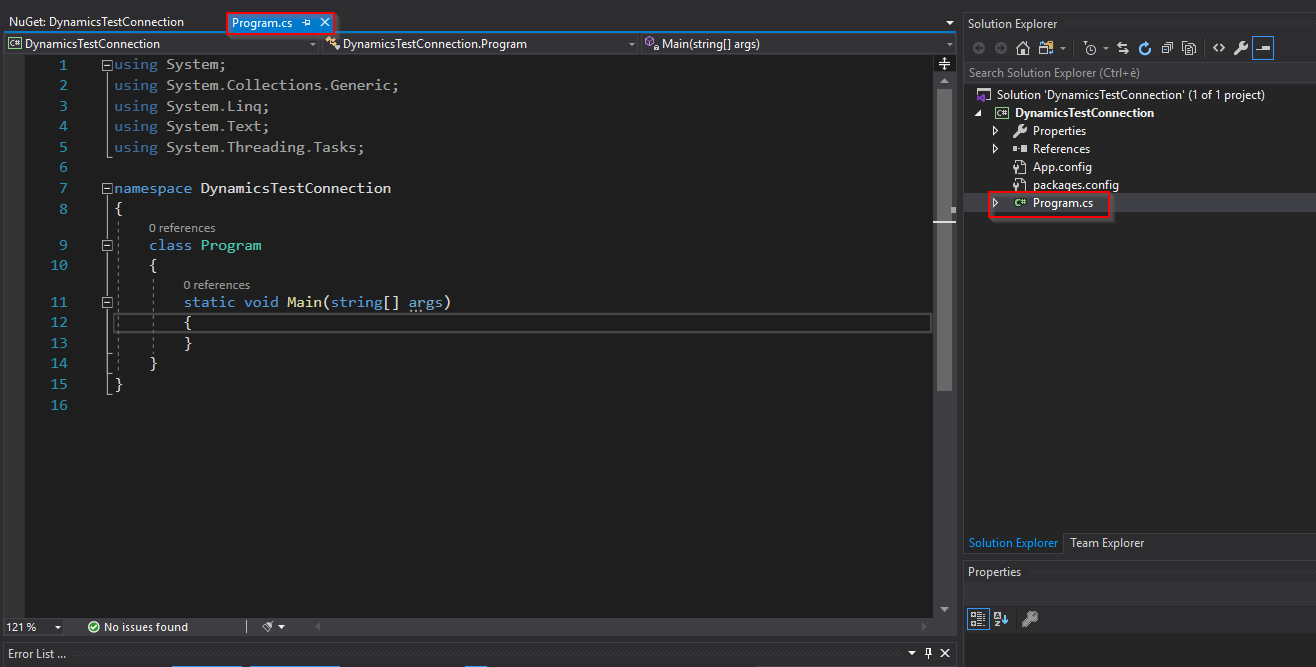
Let’s go back to the program.cs file. The file should be open in another tab or you can find it directly in the solution explorer on the right.
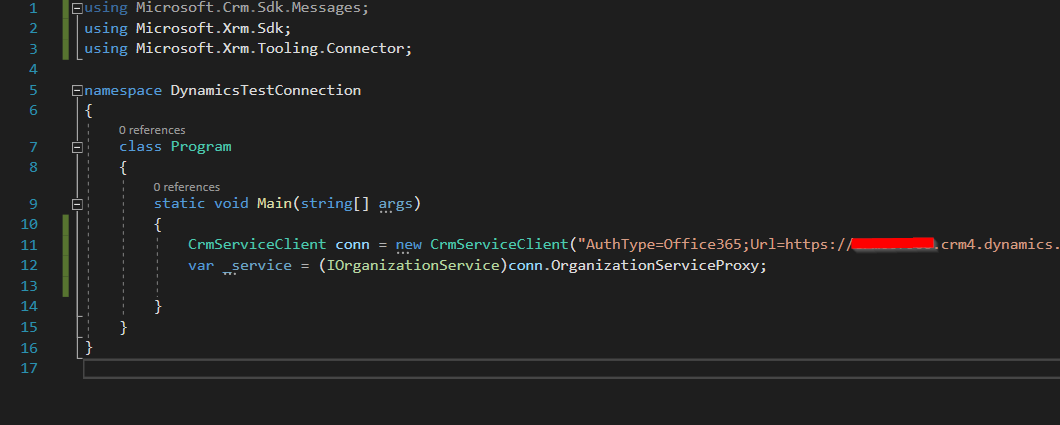
First, you will replace all the using at the top of the file by the following:
using Microsoft.Crm.Sdk.Messages;
using Microsoft.Xrm.Sdk;
using Microsoft.Xrm.Tooling.Connector;
These will tell your program to use the libraries previously installed.
In the Main Method, add the following code:
CrmServiceClient conn = new CrmServiceClient("AuthType=Office365;Url=urlofyourdynamics365instance;Username=yourusername;Password=yourpassword");
var _service = (IOrganizationService)conn.OrganizationServiceProxy;
Replace the information with yours:
- urlofyourdynamics365instance : url of your instance (https://xxxxxxxxx.crm4.dynamics.com)
- yourusername
- yourpassword
At the point, your connection to your instance is setup. It is time to test it with a WhoAmI request.
Test: WhoAmI
Here we are, the final step!
To test our connection, we are going to add a single line to execute a WhoAmI request:
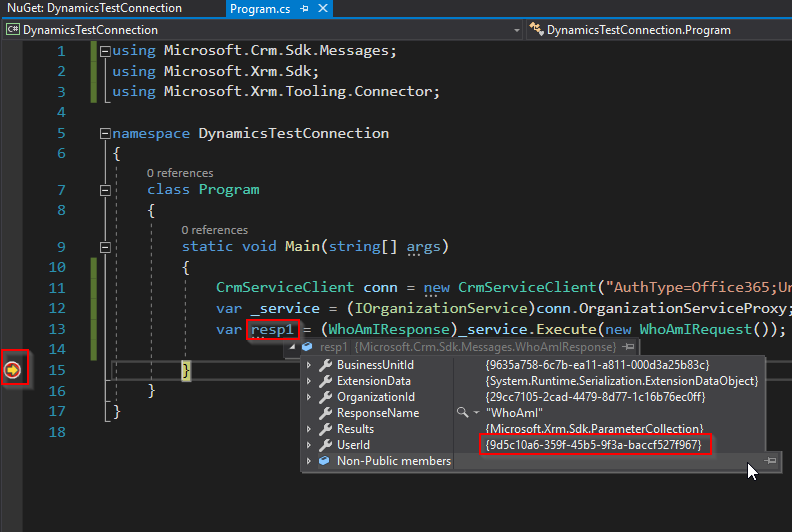
var resp1 = (WhoAmIResponse)_service.Execute(new WhoAmIRequest());
In order to check if the connection works, let’s add a pointbreak just after the execution of this line. On the line 15, click on the side to add the breakpoint.
To test our connection, we are going to add a single line to execute a WhoAmI request:

You can execute your program now with F5 or with the little Start button on the top.
If everything’s fine, the program should stop on the breakpoint. With your mouse, you can check the value of the resp1 variable and see that your userId is well displayed.
It’s your turn now to write your custom code to get, edit or remove datas, to test plugin and so on!