
Presentation
A lot of developer is using postman to test webservices. Let’s see how to connect to dynamics 365 via postman using an identification token in order to test webAPI requests.
Prerequisites
Before starting this tutorial, you must:
- Install Postman
- Access to a Dynamics 365 online instance with an administrator user
- Access to Azure Active Directory Portal
First step: Register a new Dynamics 365 App
Before starting using Postman, you must register a new Dynamics 365 App. Basically, you will create a unique App ID with specific right to access your dynamics 365.
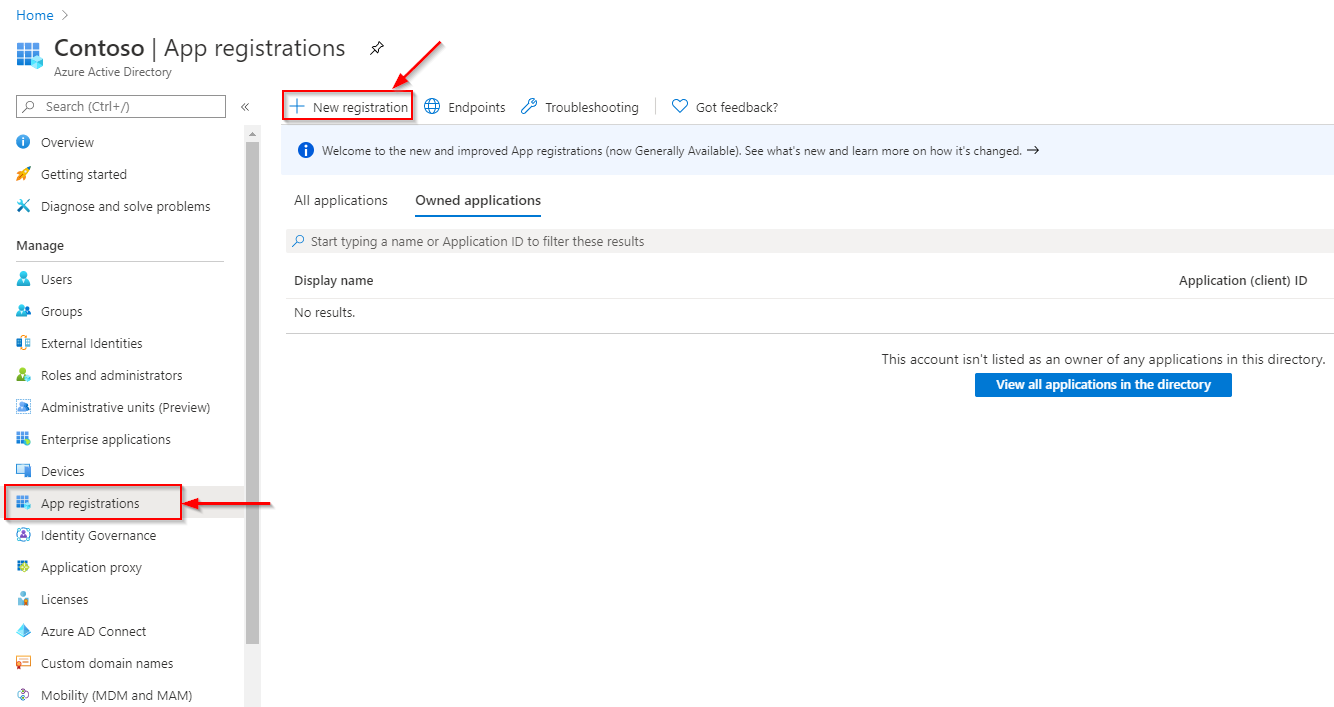
First you need to connect to Azure Portal with administrator credentials.
From the homepage, click on Azure Active Directory -> App Registration -> New Registration
In the Application registration form, you have to enter some information:
- Name: this is the name of the registration app. Enter a meaningful one.
- In the Supported account types part, select Accounts in any organizational directory
- Set the redirectUrl. In our case, let’s use Web and http://localhost
Then click on Register

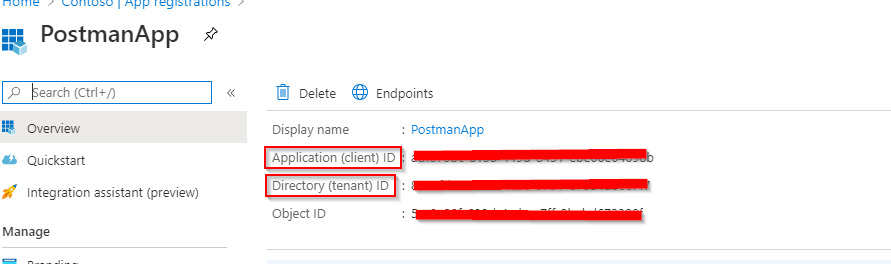
Your application is register. From the overview, you can find the application id. Copy it somewhere you will need it later in Postman.
Now let’s open the manifest.

Set the “AllowPublicClient” and “oauth2AllowImplicitFlow” to true.
Then Save it.
Now go on API permissions

Click on Add a permission
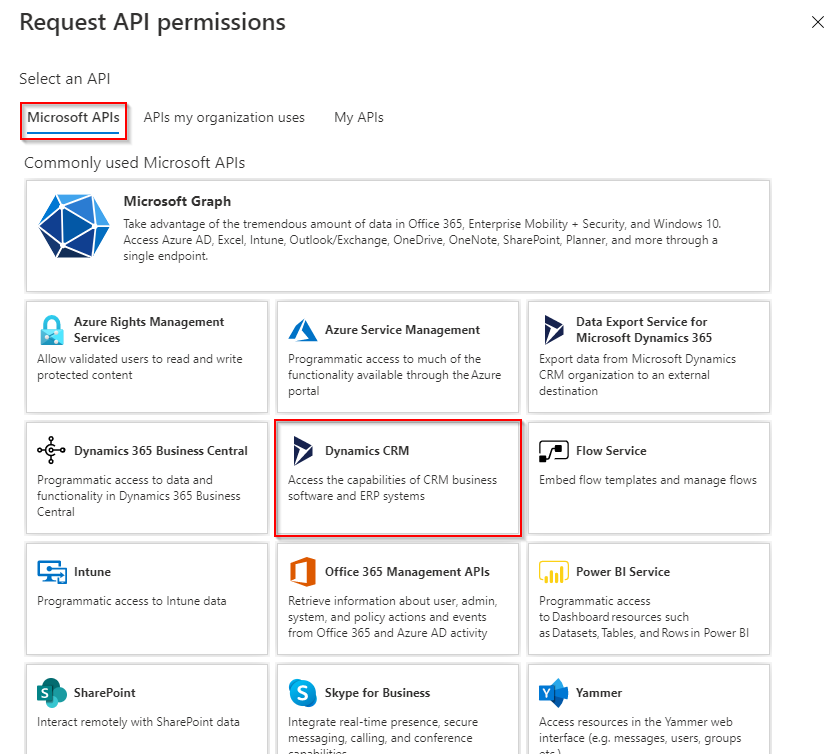
Select Dynamics CRM under the API Microsoft Graph tab.

Click on Delegated permissions, check the options and click on Add permissions.
Your app is now registered and setup!
Second Step: Setup your Postman environment
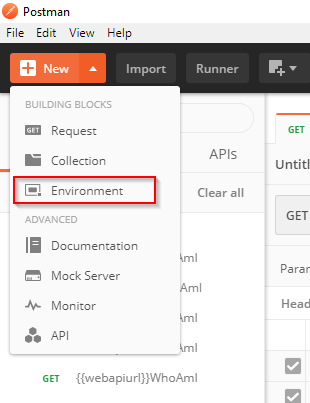
Open Postman and create a new environment
Let’s setup the following variables:
- url: Your Dynamics 365 URL
- clientid: ‘Application ID’ from Azure registered app, generated in the first step
- version: Dynamics version
- webapiurl: Set this to {{url}}/api/data/v{{version}}/
- callback: ‘Home page’ value from Azure registered app, set in 2.2. In our case: http://localhost.
- authurl: Set this to https://login.microsoftonline.com/common/oauth2/authorize?resource={{url}}

Third Step: Generate oAuth Access Token
Now your environment is set up, we are going to generate the oAuth access Token. This is a one-time operation for a single D365 instance.
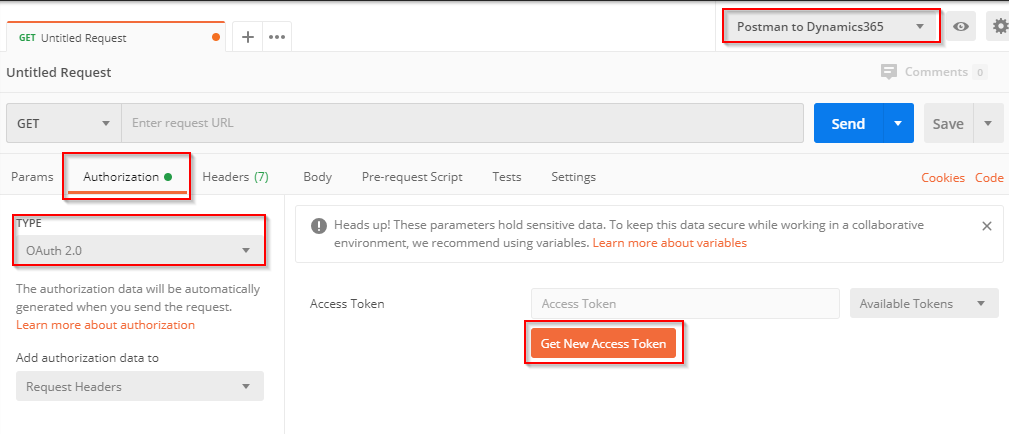
Select your newly created environment and go on the authorization tab.
Select oAuth 2.0 in the Type list and click on Get New Access Token.
In the “Get new Access Token screen”, fill in the fields as below. (you are free to change the token name)

Then click on Request Token.
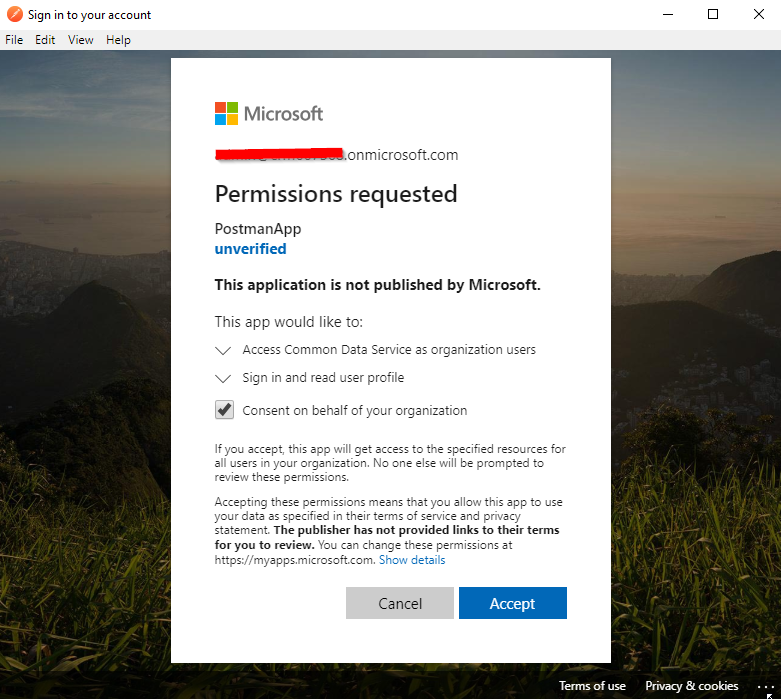
System will prompt you for credentials, pass your O365 credentials.
You may be asked some permission. Check the box and click on Accept.
If everything’s went fine you should get this screen.

Click on Use Token.
Now your Postman is setup and you can execute requests!
Test: WhoAmI
Let’s now try excuting a WhoAmI request.
Select your newly created environment.
Select ‘GET’ operation and set the URL as {{webapiurl}}WhoAmI
Select Request Header in the “Add authorization data to”
Click on Send.
You should get “200 OK” response up on success.