
D365 : How to embed a Power BI dashboard to an entity form:
If you use Dynamics 365 CE CRM and Power BI for Business Intelligence / Reporting you most likely know how to add a Dashboard to your CRM system. The whole process is so straightforward that I will not repeat here. However, if you want to embed a Power BI dashboard into lets say the account form, and apply filters automatically for this specific account, matters get a bit more complicated. Anyways,... If you know how to do it its a rather straight forward process.
You can also consult this article that give you more details on embeding scenarios or try to check on our dedicated section about Power BI.
This quick tip will show you how to do it. To achieve this you need four things:
- XrmToolBox with a tool called "Power BI Embedder"
- An (I would suggest empty) element on your Dynamics form (in my case account form)
- A report (important not a dashboard!) that you want to embedd into your form
- An understanding what should be filtered, for example opportunities for a specific account
So let's get started:
First we need to create an empty element in the account form.
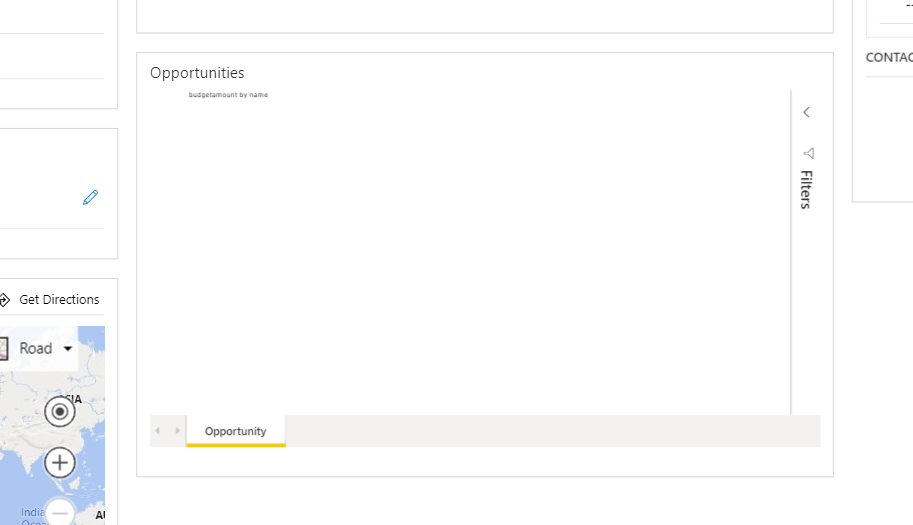
In my case here the Power BI element is already embedded, but you just need to create an empty element and give it a proper name.
Next you need to log in into your Power BI Service Account, and go to the report you want to embedd into the form. In doing so you need some information: Group ID and Report ID of the report you want to embedd, PBI Tabe and Column names that you want to filter and the technical name of the attribut you want to use for filtering. This will all be used and explained in a moment.
So first we jump to Power BI Service:
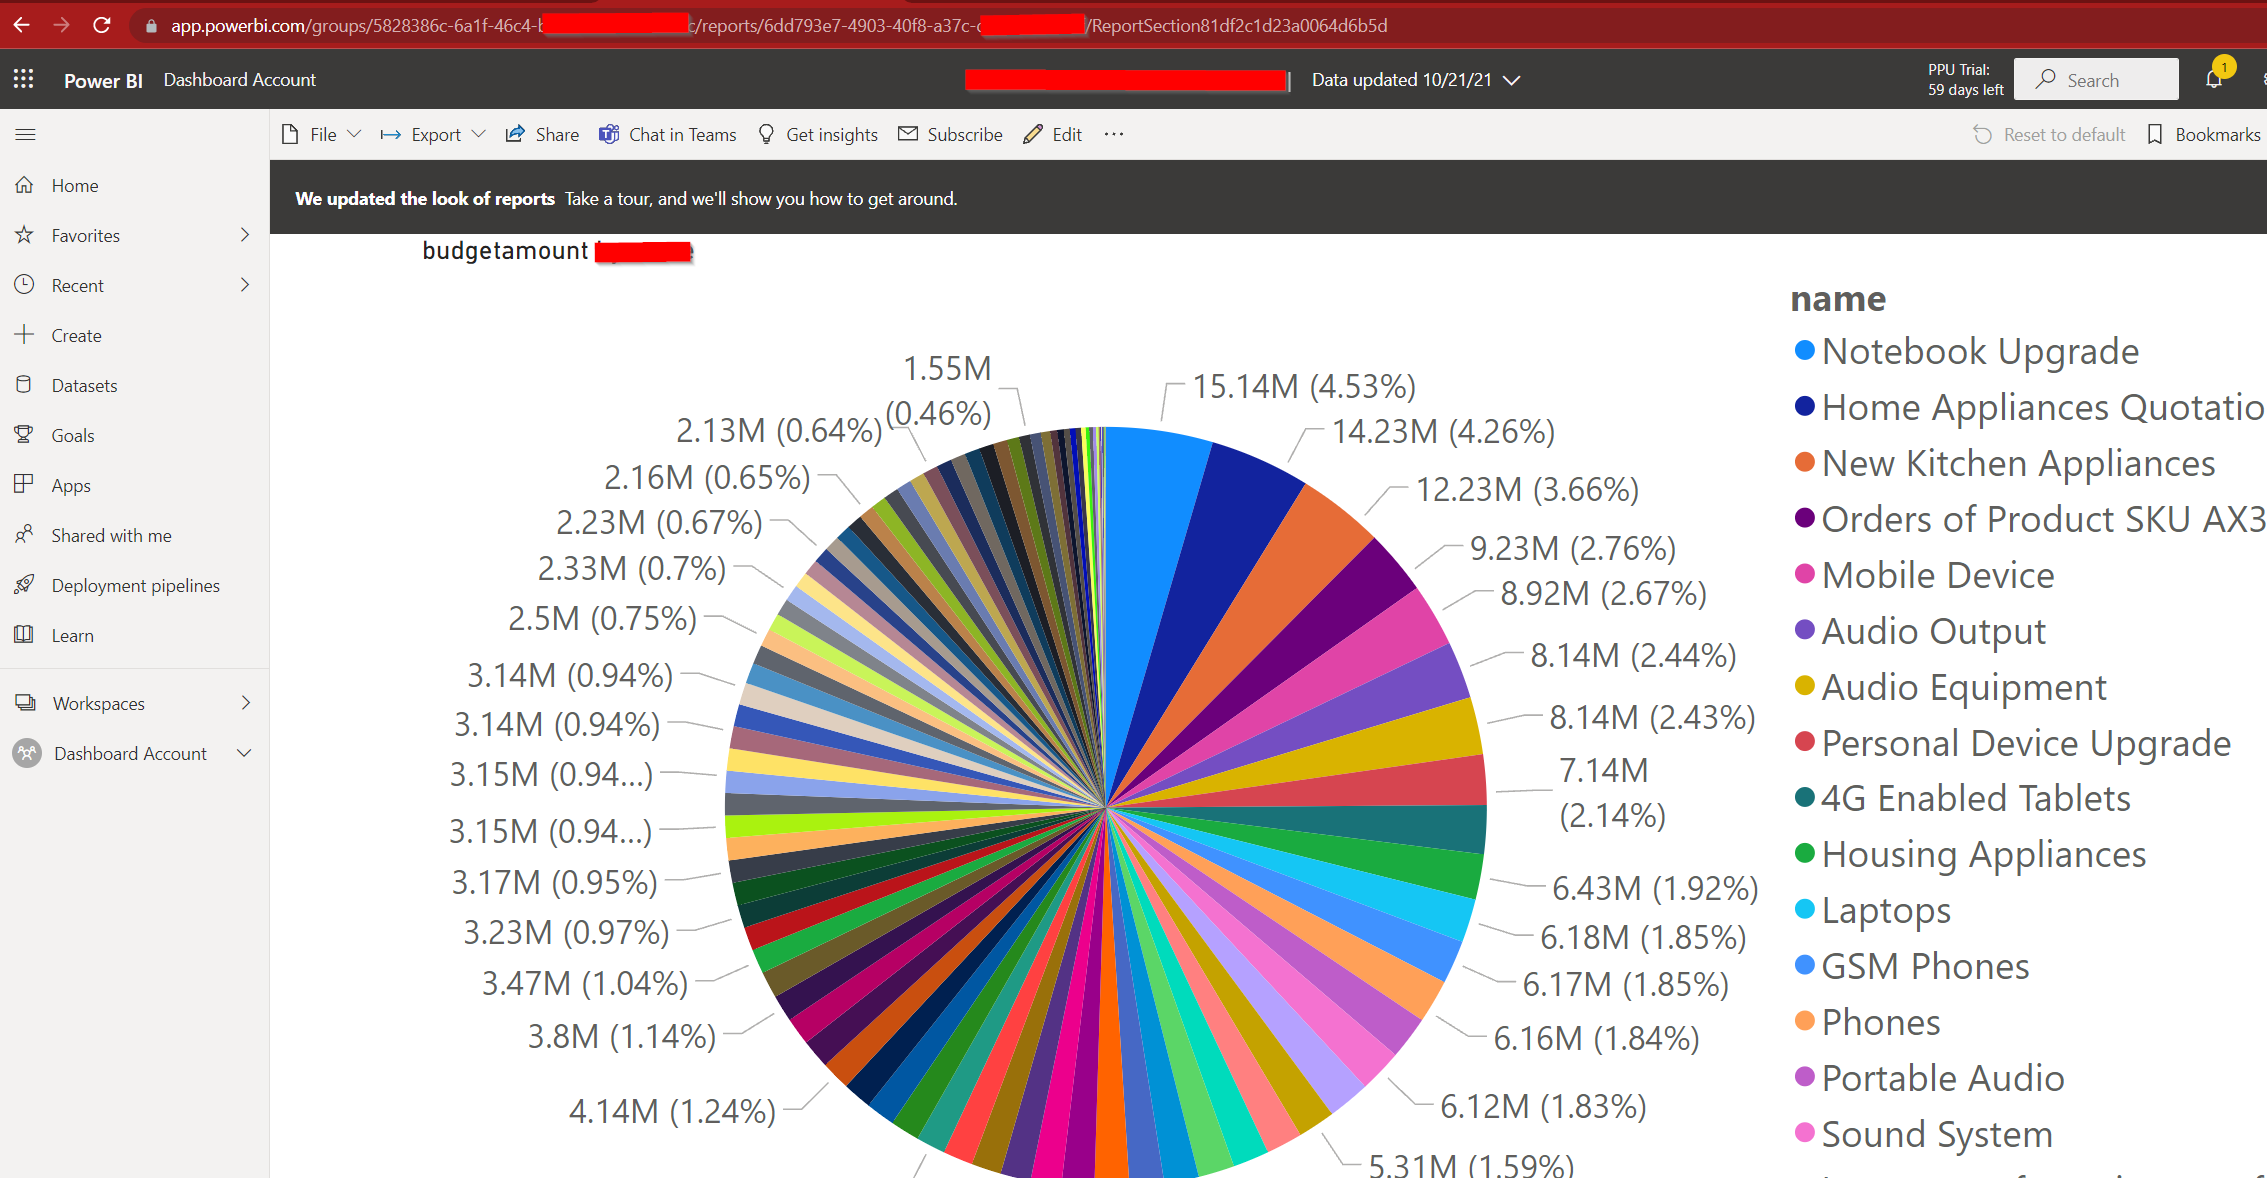
If you are on the report (click to workspace, your respective workspace and then on the report) you see two IDs in the URL. One is group ID (after "groups) and the second one is the report ID (after "reports"). Copy those two and save them somewhere.
Next we open our XTB (respectively "Power BI Embedder") and connect to the environment where we want to embedd the Power BI report. We select the entity, form, tab and the space we generated earlier:
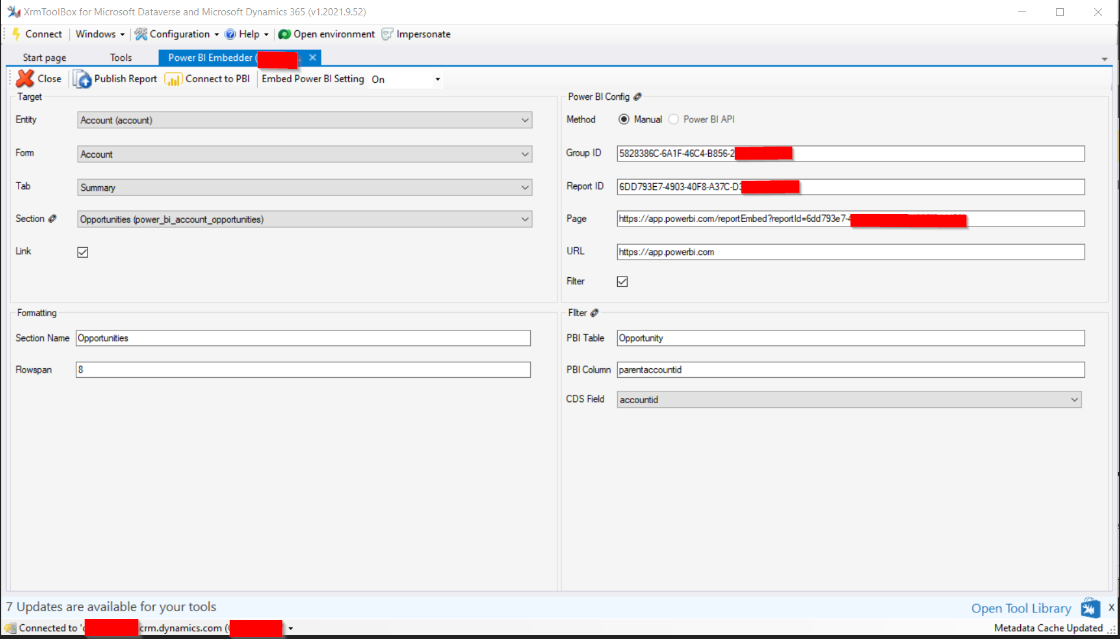
Inside the XrmToolBox we enter those two stored IDs that we got from the Power BI service earlier. Also, we need to tell the tool how we want to filter the report on the form. In my demo case, I want to add a piechart that gives all opportunities for the account record that is cuurrently displayed to the user. For this you need to give the names for your Power BI table and column, in my case "Opportunitiy" and "parentaccountid" and then choose the technical name that you want to use for filtering. As Opportunity and Account are connected via "parentaccountid" <-> "accountid" we select "accountid" and then press "Publish Report" on the top.
And yes,.. that is basically it. If you have not messed up anything up to this point the tool will now embedd the Power BI report into your form:
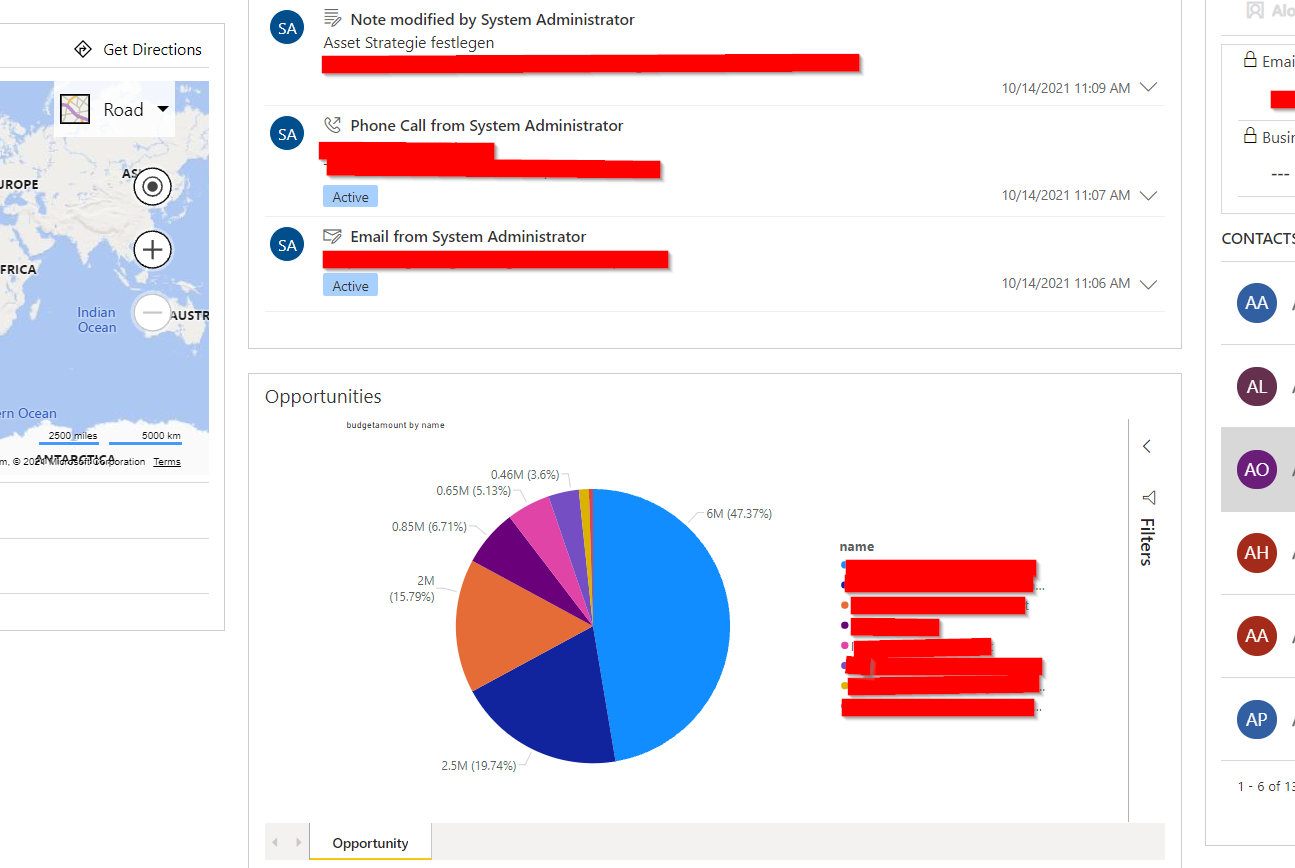
After all this, you can enjoy presenting those nice Power BI dashboards to your users and/or clients.
D365 : How to embed a Power BI dashboard to an entity form

Comments
Resize Embedded Board
Great Tutorial all working for me bar one thing
The embedded report is only 1 row in size and there does not seem to be a way to increase the size of the section - any ideas.
Ciao Martin, sure in the XRM…
Ciao Martin,
sure in the XRM Toolbox Tool you see a small box "rowspan". As far as I know default is set to 1.
Try set it to 8, 10 or whatever works for you. This should work. If not please comment here again.
Cheers
David
How to remove it?
Thank you for a great tutorial! Fantastic tool.
My question is, how do you remove it?. I attached the power BI dashboard to the wrong entity form....
thank you!
Hello there, glad you…
Hello there,
glad you liked the small tip.
To remove you can just go to make.powerapps.com or to the old editor in your CRM and remove the element, then hit save publish and it should be fixed.
Greetings
David