Install Dynamics 365 Developer Toolkit:
Microsoft has officially released Dynamics 365 Developer Toolkit for supporting developers here. It is a set of Microsoft Visual Studio Integration tools, focused on accelerating the development of custom code for Microsoft Dynamics 365(CRM). Using the toolkit, you can create, develop and deploy CRM plug-ins, custom workflow assemblies, and web resources without leaving the Visual Studio environment.
However, this tool only works with Visual Studio 2012, 2013, and 2015. In this article, I will show you a trick to install this tool for later versions such as Visual Studio 2017, 2019.
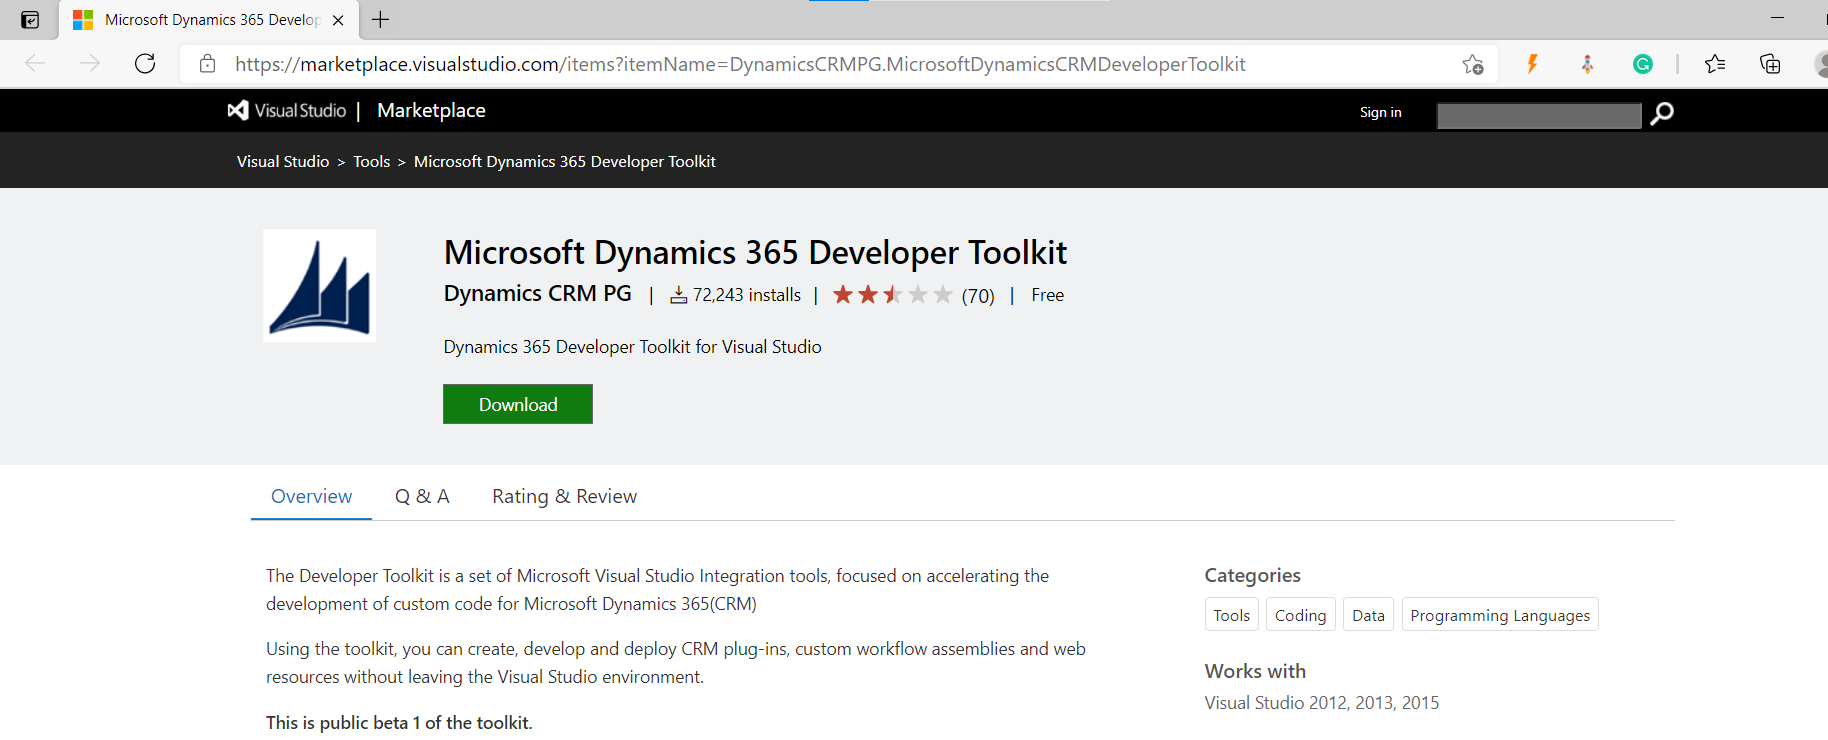
Step 1: Download the extension tool (.VSIX)
This is an official extension from Microsoft and you can download it from here.
Step 2: Custom the extension
Prerequisites: You must install 7zip on your system. If you haven't done it yet, please get it free here.
- Open the VSIX file (the downloaded extension) as an archive by the 7-zip tool.
Note: Do not extract it.
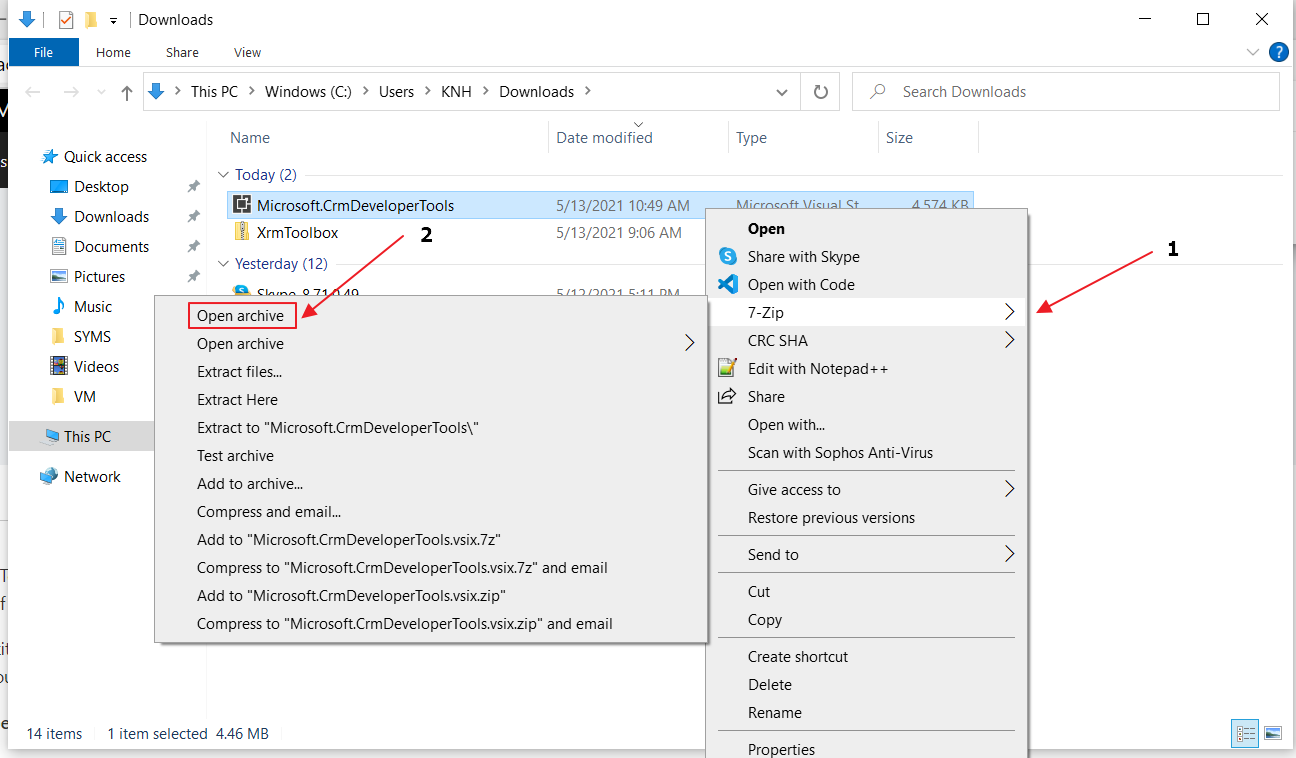
- Find file extension.vsixmanifest then right-click and choose Edit to open it with a text editor.
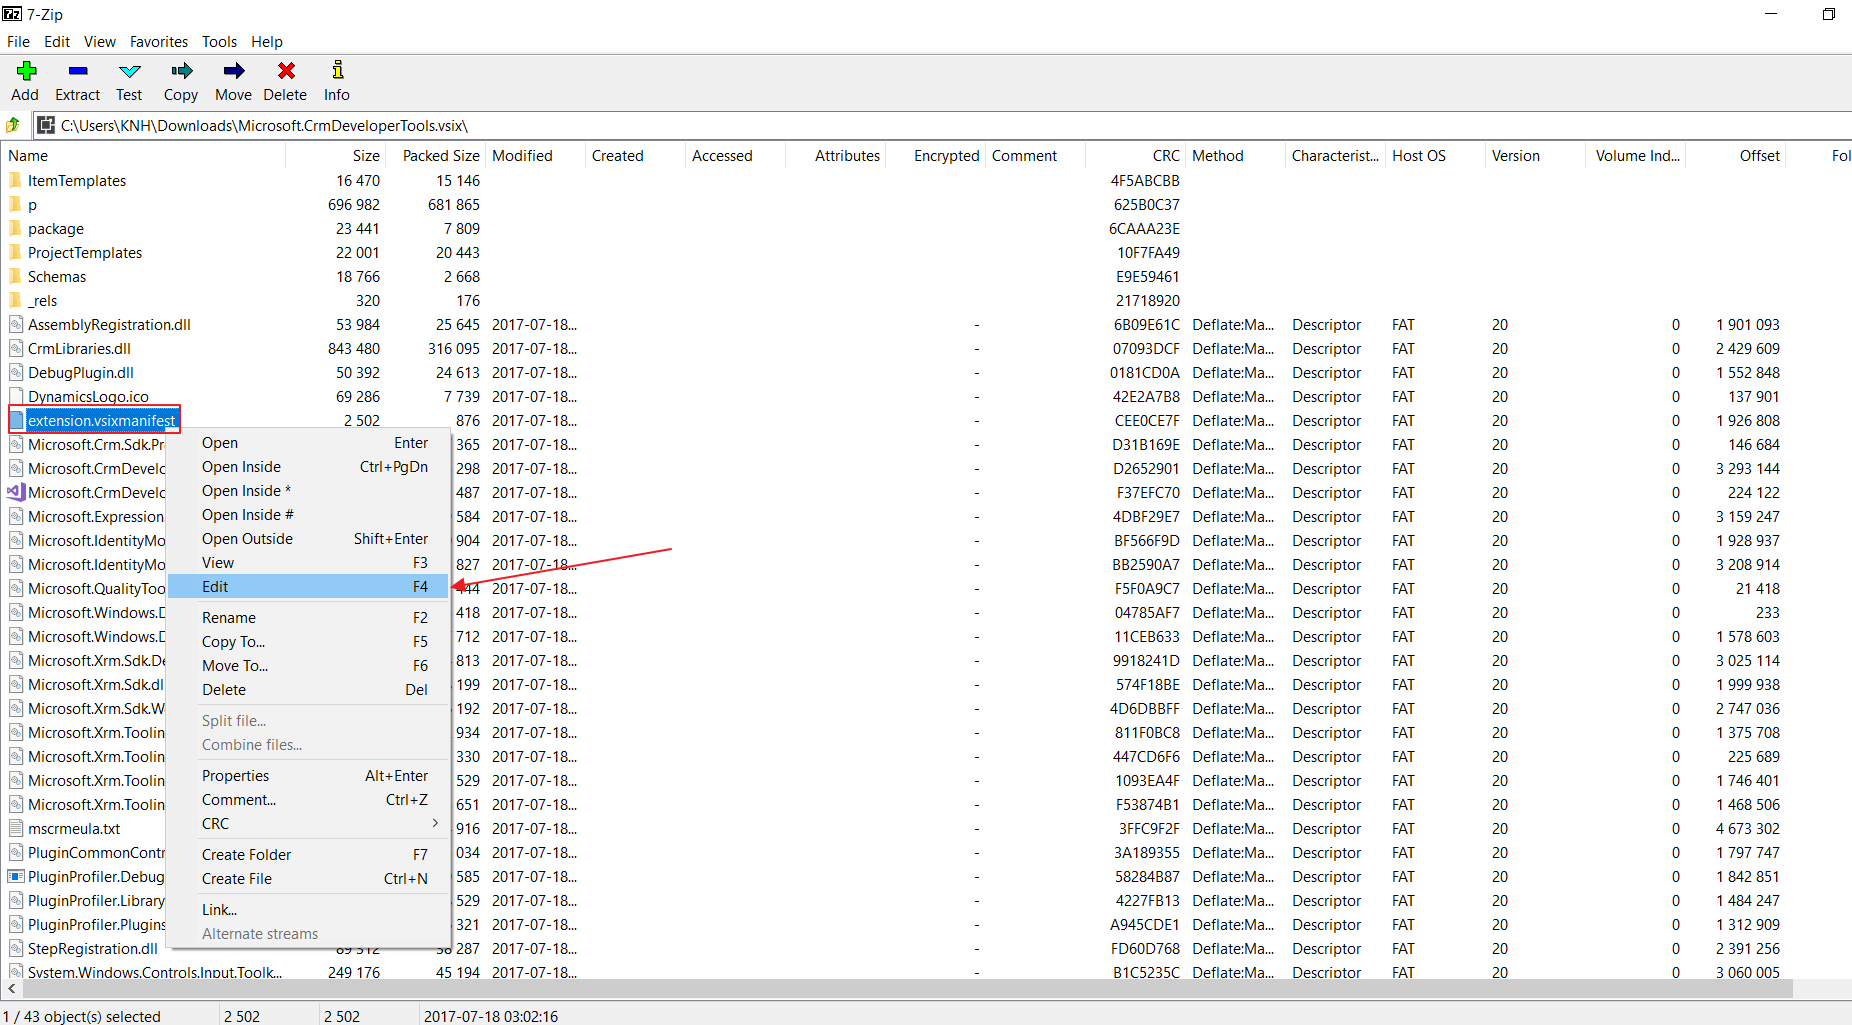
- The default VSIX only works for Visual Studio 2015 corresponding version 14.0 in configuring InstallationTarget so you need to modify the version to 15.0 (for VS2017) and 16.0 (for VS2019). Once you complete as shown below:
- Visual Studio 2017:

- Visual Studio 2019:

- Visual Studio 2017:
- Save the file and select OK to update the archive.
Step 3: Install the extension
- Close all existing Visual Studio windows then install the extension. Because the extension was compiled by and for Visual Studio 2015, we will get a warning when installing, but just skip it, we will not be able to get rid of this warning, install and restart Visual Studio.
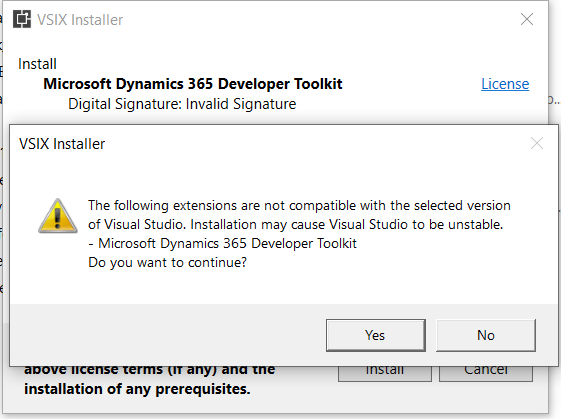
- After install successfully, you will be able to create a project with template handling part of Dynamics 365 such as Dynamics 365 Plug-in Library, Dynamics 365 Package, Dynamics 365 Workflow Activity Library.
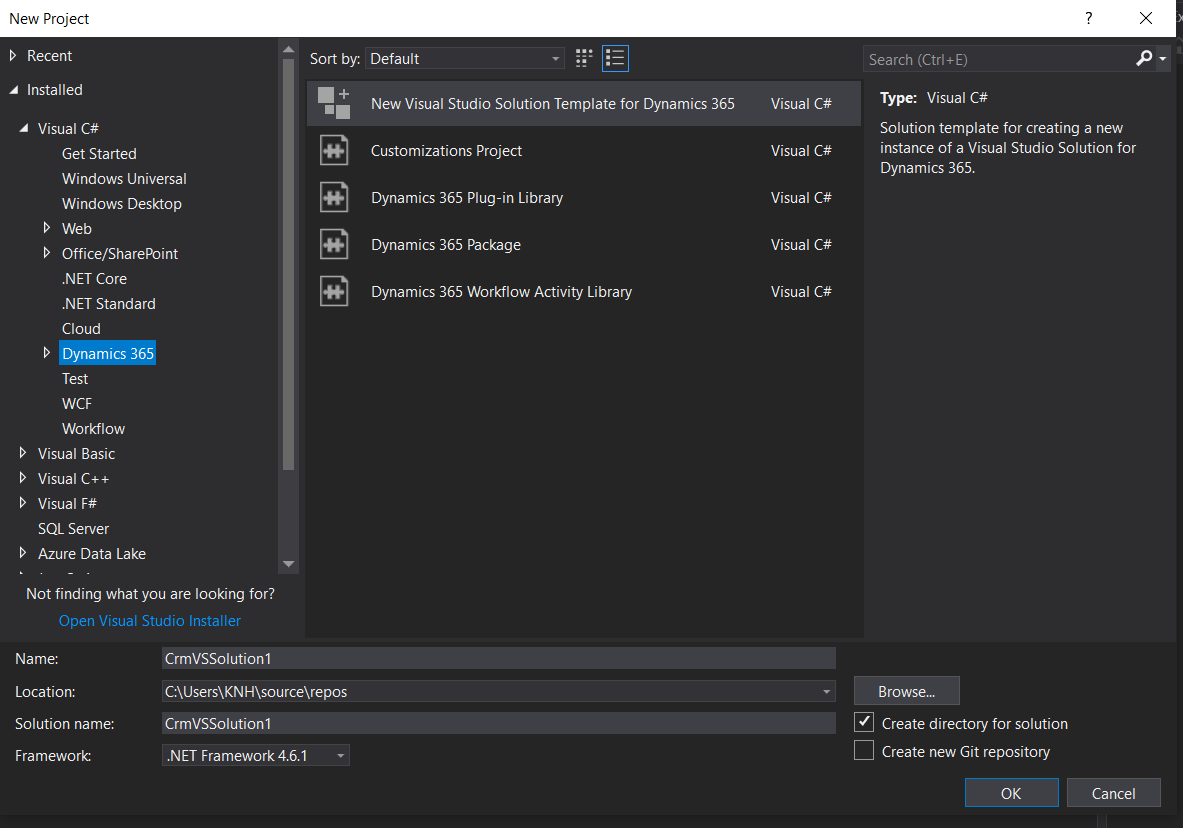
Step 4: Set up the Path for extionsion
- Download the Microsoft Dynamics 365 Software Development Kit (SDK) from here. If you have installed it already, skip this step.
- Open Visual Studio, go to Tools -> Options -> Dynamics 365 Developer Toolkit -> Tool Paths
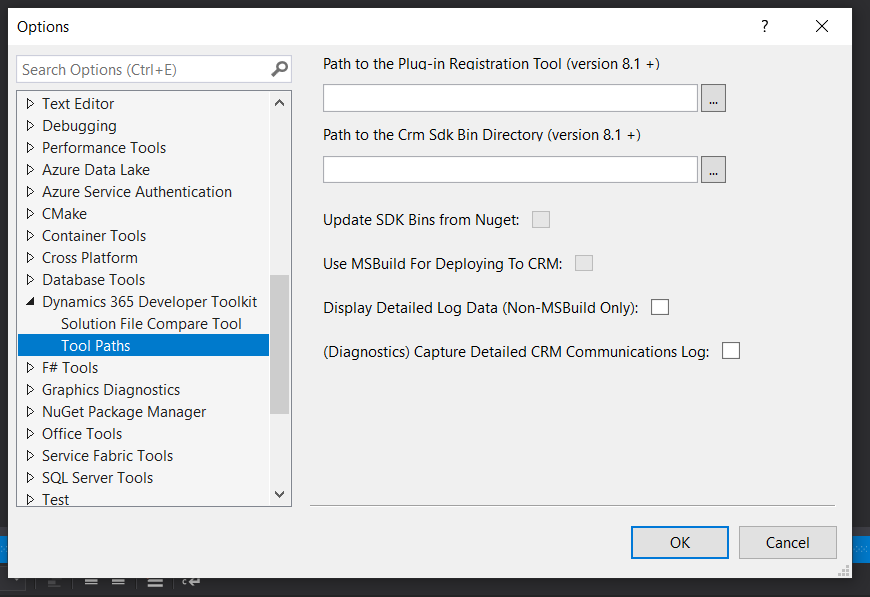
- Set the directory to the plugin registration tool folder and bin folder where you extracted SDK.
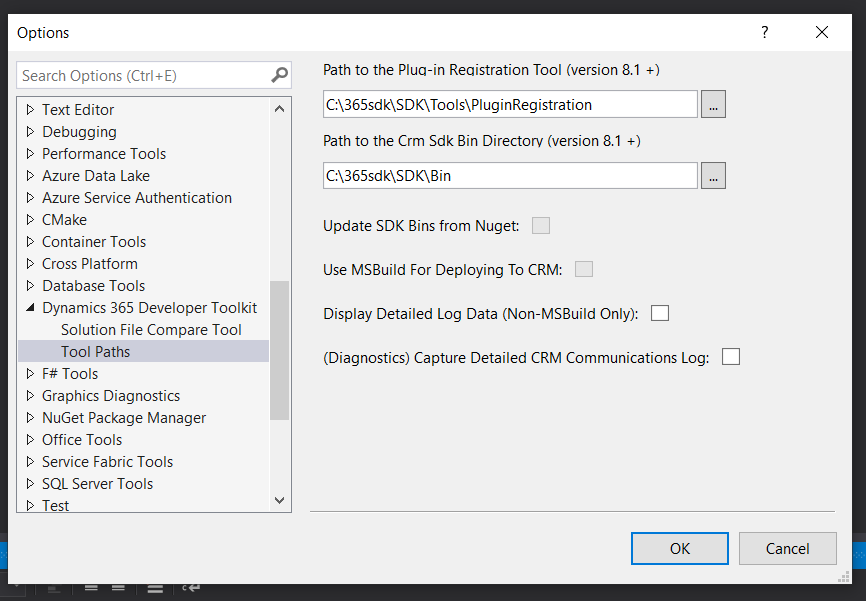
Now you can use this tool for VS2017 and VS2019. If you have any issue, just add comment below to discuss.
Comments
Doesn't connect D365 online version 9.1
Hi Nguyen,
I can't able to connect the Dynamics365 online version 9.1 form the visual studio.
which is showing error.
and also i didn't have a separate SDK for D365 online.
For cloud version which is have have Tools folder, we don't have a Bin folder for cloud.
there is a way to deploy the crm stuff from Visual Studio 2019.
if it is there share the article or guide me how to achieve.
Thanks in advance.
Regards,
Vigneshwar Kumar
Bin folder
Hi Vigneshwar Kumar,
Please take folder Bin from Microsoft Dynamics 365 (v8.x) Software Development Kit (SDK).
Regards,
Khoi
Visual Studio 2022
Did anyone get this working with Visual Studio 2022 64bit?
I tried this. The installtion was working, but the Tool was not able to load correctly:
amd64
Hi Patrick, Microsoft has…
Hi Patrick,
Microsoft has release an official tool to replace Dynamics 365 Developer Toolkit for VS 2019 and later. Please have look at Power Platform Tools for Visual Studio (RIP : Dynamics 365 Developer Toolkit) | Dynamics Chronicles (dynamics-chronicles.com)
Regards,
Khoi
Showing error on install this extension
Hii,
I followed the above steps to Install the .vsix files. But at the 3 steps, I am not able to do the extension. After selecting and update the Archieve error has shown.
Unable to See Dynamics 365 Option under Tools menu
Hi Nguyen,
I Using visual studio 2017. I have followed all above steps and completed installation/configuration but unable to see Dynamics 365 option under tool menu on visual studio.
To the dynamics-chronicles…
To the dynamics-chronicles.com webmaster, Thanks for the well-presented post!

